We purchased an IKEA Klippan loveseat with no cover on Craigslist last month. I did not or was not able to see the legs in the original Craigslist post so I was more than a little shocked to see hideous wooden legs put on the sleek, modern sofa. As you can imagine, they were removed.
Ikea is over an hour and 1/2 away from us so it took us two weeks to head to my favorite store (in competition with Target). I unknowingly, thought I could purchase Klippan metal legs at the store and an extra cover. My idea was to buy an off-white cover (for $19) and dye it gray. I had seen a dye job to die for at
IKEA Hackers and knew I could do it.
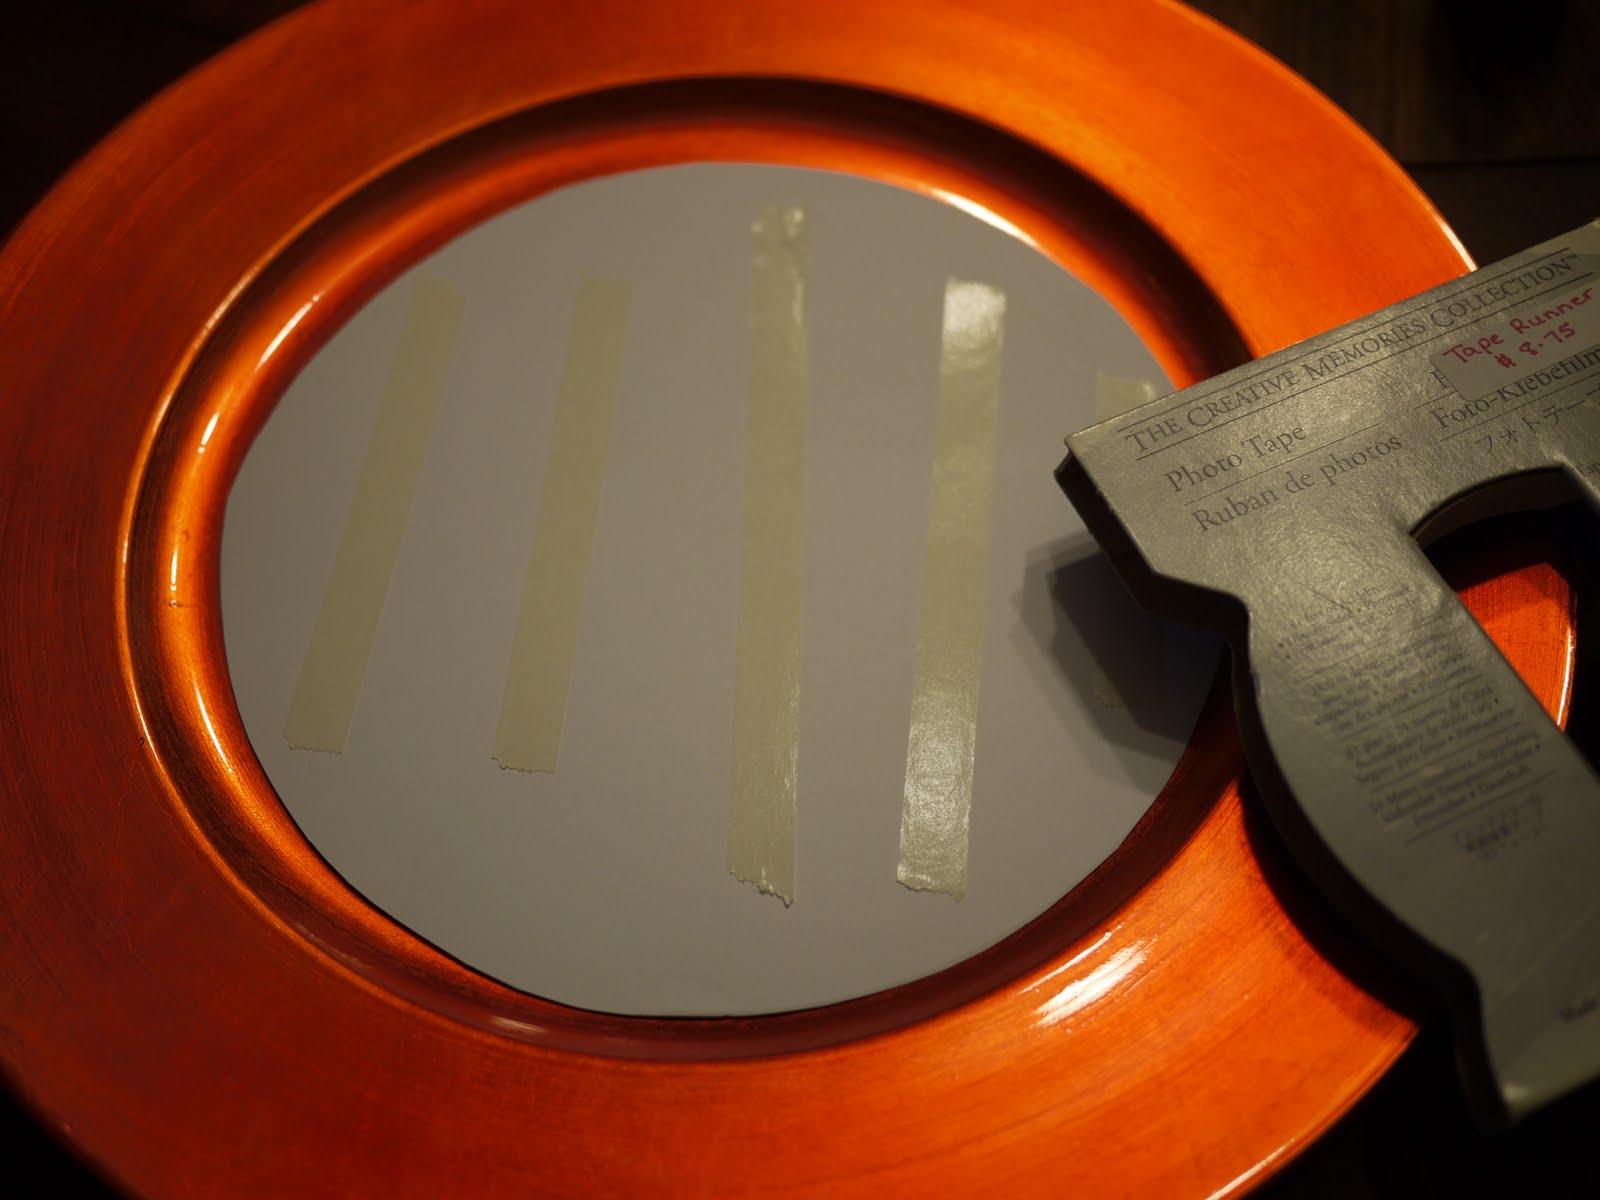
I was unable to find metal legs at IKEA for the sofa but we did purchase these bookcase legs that are super similar in size, form and color so we thought... for $10 sure... we'll try it.
I realized after pulling the wooden legs off that the original owners put them on because one place where the metal legs screw in was crooked. They took a new screw and screwed in the wooden legs just to the outside of the original leg position.
We unscrewed the extra screws and I fixed the crooked spot by inserting a screwdriver inside it and pulling in the right direction. DUH! Super easy!
The couch was also a very old version. The date on the bottom said 1999. We had to cut off a white gauzy cover to put the slip cover on but no worries.. It turned out fine! The kitten even got into the DIY spirit.
The wooden legs made the couch too high and therefore oddly uncomfortable. It wasn't until we put these legs on and the couch sat lower that we realized that was the problem the whole time.
Next came the dye job. I found on the RIT website where you can dye items in your washer. We purchased 2 Royal Blue and 1 Sunshine Orange liquid dyes to mix together to get a blue/gray. We pre-washed the off-white cover and then mixed our colors together.
We picked out #193 and followed the directions.
The directions state to only leave it in the dye for 30 minutes max and use super hot water. You are also to add 1 cup of salt into the tub. I stopped the washer at 30 minutes and then rinsed a second time.
After round 1 it came out WAY too blue!
I'm not sure the orange did anything at all. I re-read the directions for machine washing and the only thing I can think of that went wrong is that we have an HE front loader so it uses less water.
We purchased a black RIT dye and poured the entire bottle in the load and tried to darken it thinking any gray/black would be better than denim blue.
It didn't do anything. When I have time I will use two bottles of black and hope it darkens it. For now, we have a denim blue couch. We go back to IKEA on Saturday to purchase the Klippan 4 seater in black and a few extra off-white covers for me to dye. With my daughter's birthday party on Sunday I will be purchasing a pink cover for the 2 seater.
New living room/ kitchen makeover pictures to follow. Next time I try to color match and dye a cover I will use 1/2 of the recipe and use a large Rubbermaid container and boiling water instead of our washer. It was a super easy method but lack of extra water darkened the color drastically.


 TatertotsandJello
