Pages

Showing posts with label Kitchen. Show all posts

Tuesday, December 10, 2013

Vinyl Stick Kitchen Floor Update

It has been basically a year and a half since the crazy upheaval of our kitchen floor. Thank goodness it is over! I wanted to come back with some updates on how the floor has held up. The vinyl planks themselves show no wear at all and we are rough on our floors. There are spots (just a few) where I am SURE it was installed tightly but have now shifted slightly because of use and have left small gaps in the floor. This is my only problem with it. I have spilled countless things on the floor, dropped dishes and silverware and the rest of the floor is fine. 


This was always meant to be a temporary (few years) floor until we decided to put down hardwood throughout the main living space.  With the way things are falling apart around here, that is down on the list so it may be a few more years in the making before we replace all floors.


Will this continue to work for a few years? Yes. Is it starting to have a few gaps? Just by the back door and near where we stand (sink/ dishwasher).  It isn't horrible and it isn't noticeable so we will live with it for a few more years. Yes, I would still recommend this tile. We bought these at Lowes in the vinyl flooring section. We purchased by the box and any additional pieces were 88 cents more.

Monday, July 9, 2012

Finally the Kitchen Floor!!!! A Vinyl Plank Floor

As you may have remembered from HERE back in October, we had finished our kitchen cabinets and painted our backsplash. We still had our stained island and our hideous racing stripe floor! We recently put bead board on our island and painted it gray but the floors still remained. Then came this!

The horrible linoleum commercial tiles were glued with industrial glue that you use to attach to concrete. The previous homeowners screwed a 1/4 inch thick sub floor on top of the vinyl kitchen floor and then glued the linoleum so we were tasked with ripping all of it up. It put up a crazy fight!!! Every 2-4 inches was a screw into the sub floor under the linoleum. We even rented one of these bad boys.

 $60 later, it took up the majority of the linoleum but left us with the sub floor to finish taking up. We were left with very beat up vinyl roll flooring when it was all said and done. We took a box cutter and cut around the ripped up spots but that also left the floor uneven in spots. If this was our forever floor we would have done a better job, but after 3 weeks of just serious demo, we were finished!
We purchased vinyl plank tiles from Lowes for $0.89 cents a square foot for now until we can afford to hardwood floor our entire living, dining, kitchen and hallways! That is almost 1,000 square feet and will be very expensive!
It took about 3 days of off/on again work to finish putting down the floor and quarter round.
The children were so excited to finally get to walk back into the kitchen that they did "floor angels".
Here we are without the quarter round or the finished island. Doesn't this floor look 1,000 times better? I can't believe we lived in this house for almost 6 years without changing that floor! What were we thinking?


Friday, April 13, 2012

Working on a Bead Board Kitchen Island Update

Last we left off with out wonderful kitchen island it looked pretty sad and pathetic against our newly painted kitchen. You can see HERE how we spoke of refinishing our dear island and our color choices and why.

Since this week was spring break and we thanked the dear Lord for letting us finally make it to another one, we worked our tails off. First off, we worked on the yard, more on that later, and then we began more work in the laundry room, also more on that one later. We cleaned out part of the garage, still in progress, and we began work on a second garden bed, and painting the island. First up, the color I chose, which was the darkest on my paint chip was too light. The top color is comet dust which is our kitchen cabinets, the walls are notre dame which is the second color and so we chose the third, granite dust. Once opened, I realized it was way too light. So... I did what every cheap DIYer would do, I tinted it myself!

I had a quart of some shade of black in my garage and decided to mix it in with the granite dust so this color is a deep gray with a hint of blue and I have nothing to color compare it too! Sorry.

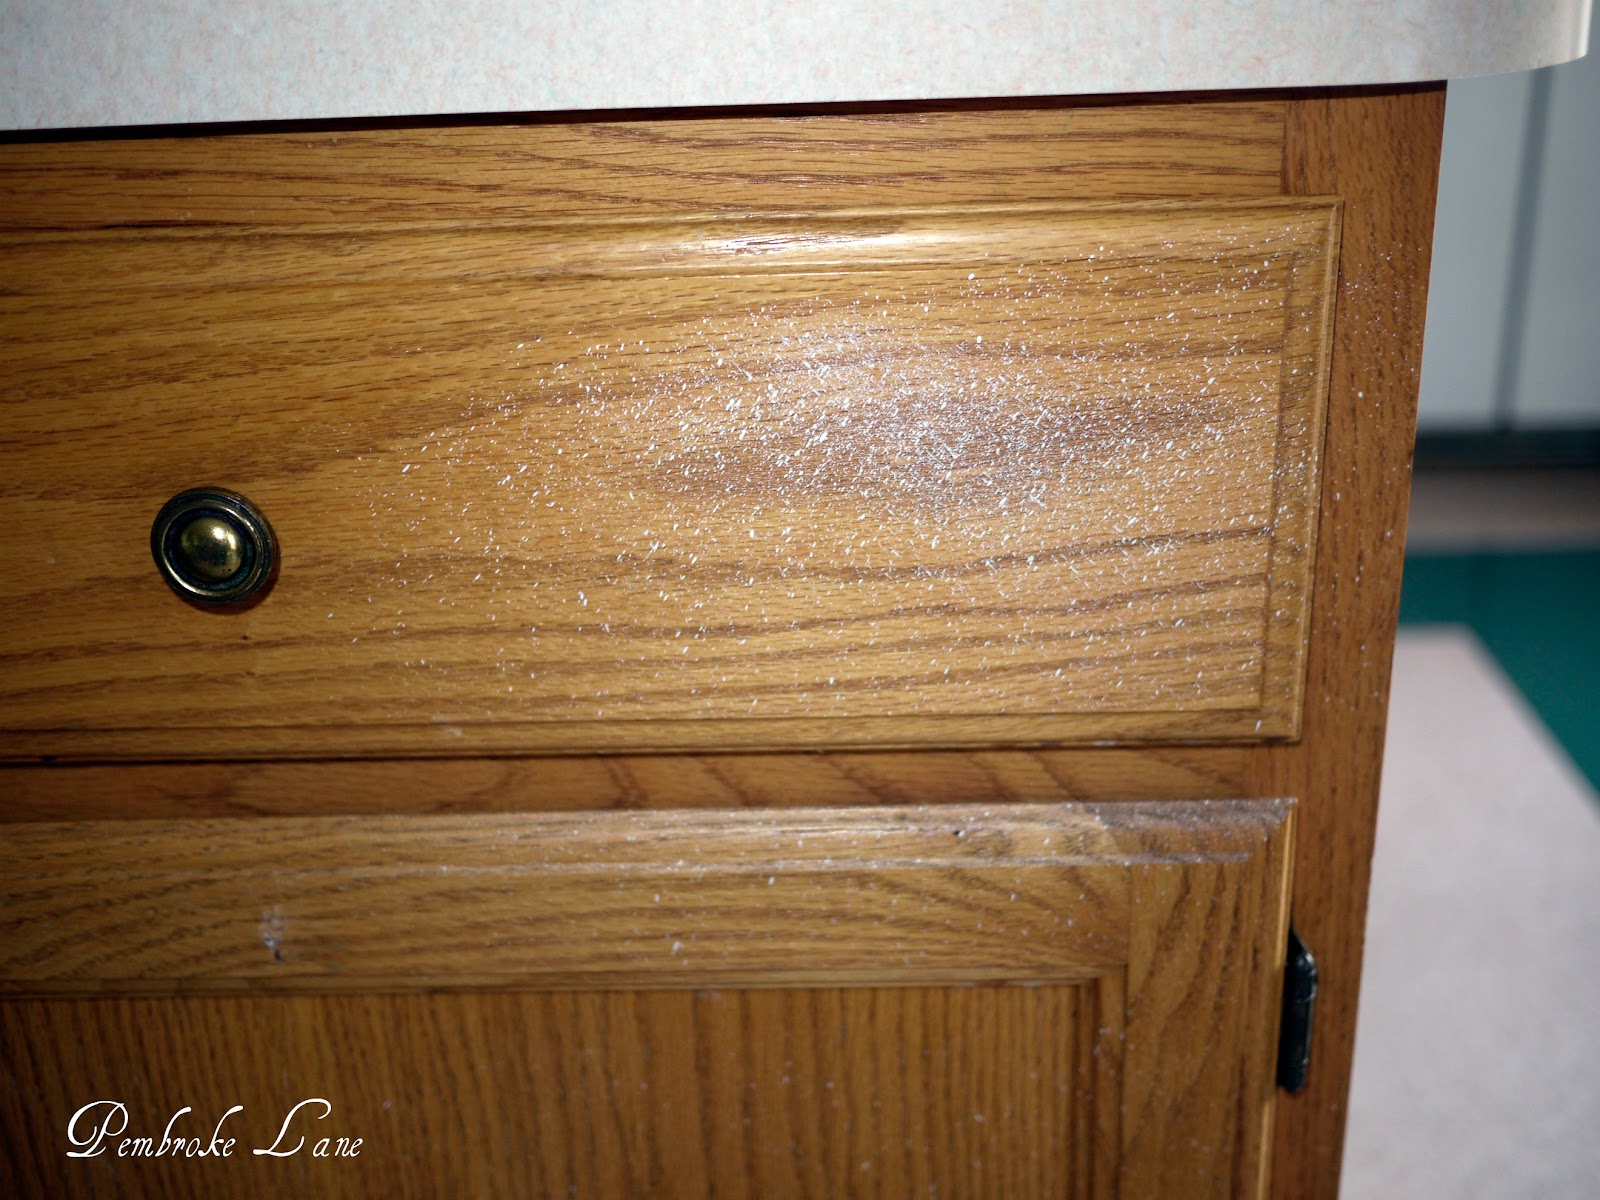
I also did something that I should have never done: I tried to prepare the cabinets using steel wool and my sheer good looks. Well, that didn't work too well and even though the front of the cabinets were painted and beautiful, they peeled off like a college co-ed at spring break!

Here you can see where I actually cleaned out the bottom. It didn't get wiped out until much later but most of our junk is gone! Know where it went? On top of the island! HA HA HA. It is all gone now too thank goodness!
 I took the doors outside the first time but the wind was blowing so hard we got pieces of leaves and yard stuff on them so I am kind of glad they peeled so I could do them nicely. I then deglossed them using the left over deglosser from our kitchen make over last summer. I scrubbed and scrubbed and then used 150 grit sandpaper from the garage to rough it up a little just in case the deglosser didn't work as well as I wanted. I was grumpy doing it all a second time but I would NOT do it a third time.
After two nights of repainting and letting the front dry, I rehung the doors and drawers and put on some pretty hardware. This was hardware that I had when we decided to redo the kitchen. I purchased 9 but needed 13 so I have these beautiful knobs to use on different projects until I find what I am looking for to use on our actual kitchen cabinets.
My brother had dropped off a bunch of bead board when he moved because I guess my garage looked like a storage facility but I don't mind because I had all the pieces I needed except 1 small pieces so my purchases for the island were one $9.37 pieces of bead board and two $8.00 pieces of trim. I already had all the paint, knobs and other bead board pieces so this whole project so far is under $30.00.

Oh, and our hideous counter top? That stays until I can figure out how to get a huge IKEA butcher block counter top home or we drive there and have it delivered. The island actually featured a place for bar stools but it was a separate piece of counter top screwed into the island and didn't look really nice.
You can see the counter I ripped off on the floor behind the island in the picture above. Oh and don't worry about the bottom of the island, that is where the trim goes. The piece below is not attached, I just leaned it against the island for effect. He He.

I plan on replacing the entire piece with one counter so it has a seamless look. I am in love with this island at Thrifty Decor Chick so I may end up with a routed edge to ours as well.


I am still in the middle of finishing up the trim parts but the entire island is covered in bead board. I am not sure I love the gray but I did find this gem on Pinterest where it is a very dark island with a gray/white kitchen so it may end up repainted again?

Source: bhg.com via Melissa on Pinterest

I totally loved this yellow island but hubby shot me down! Boo! This would have totally rocked out against our gray kitchen. I still may turn our barstools this color so we get a touch of this greatness.

For right now this is how our island looks. I hope to finish the trim/moldings tomorrow and then the top will come sometime next month. At least I know it is better than before.

No the molding on the back is not nailed in place, I sat it there to ensure I had made the correct cut and don't you know it is about 1/2 inch too short but nothing a sliver cut off of another piece and some great paintable wood filler can't cure.


Http://www.iheartnaptime.com

Thursday, February 2, 2012

Spraypainting Curtain Rods and DIY Tablecloth into Curtains

I looked and looked all over the blogisphere for something to do with my 3 HUGE windows in our living, dining and kitchen. I did find a lovely tablecloth at Target that I was going to split in half for each curtain. I didn't want them too full and I didn't want to close them as we just pull our blinds down each night instead.

I was able to purchase 3 tableclothes at $19.99 each and split them down the middle. I then sewed a very basic seem down the side I cut and hung them with clips purchased from Wal-Mart.I purchased 4 bags at $7 each so those were quite costly.
I was able to get 3 curtain rods for $7 each at The Christmas Tree Store and sprayed them with ORB (oil rubbed bronze) spray paint which was $6 at Lowes.


The total project cost was:
Curtains: $60.00
Clips: $28.00
Curtain Rods: $21.00
Spray Paint: $6.00


Total: $115.00 for three HUGE windows that run the length of my house.

Saturday, January 14, 2012

Labeled Glass Pantry Jars & a Vinyl Transfer Tutorial

I love all things labeled and pretty. If I had more time to a day I'd have everything labeled in my entire life but alas my OCD must go untapped since there are only 24 hours in a day and I need to sleep some time, or so my husband says.

I originally had these Tupperware organizers but wanted a more sleek, updated look where I could clearly see when I needed more ingredients instead of the little peak a boo window.

I found these great glass jars at Target. The largest ones (they hold a gallon) are a little under $6, the medium size around $5 and the small ones are under $5. I purchased a bunch of each a little at a time each week. Yeah, I totally go to Target every week! I LURVE Target just a little! Oh and I got those blue cups for our camping trips for around $2 on clearance! Score!

I washed the jars and let them dry thoroughly. Can't have all those cute ingredients gunking up the bottom can we?

I purchased really cute custom labels from Say It on the Wall, since I have yet to get my Silhouette Cameo. Anyone listening and wish to purchase one for me, my birthday is in 2 1/2 weeks! :o) You will also need your favorite music like my Glee station on Pandora Radio.


It is really easy to put vinyl on anything. First, rub with all your might, or a Petco gift card so that the vinyl sticks to the transfer paper. Then slowly at an angle peel the vinyl off the backing.

Situate the vinyl and transfer paper combo to the glass jar. 
Press with fingers on top of the vinyl. Then slowly, very slowly peel the transfer paper off, pressing the vinyl down if/when needed.
I pressed down on the vinyl again after the transfer paper was off just to make sure it stayed down and was secure.

Then just fill with your favorite ingredients and place somewhere really cute.
The orange scoops are freebies I've gotten from Tupperware parties. They don't measure but they are great for filling a measuring cup or just dumping things in. I never always measure  my rice, don't you?


Hope this little tutorial helps and happy vinyling. :o) That's a word right? Ha Ha. Tip Junkie handmade projects

Friday, January 13, 2012

Organizing the Pantry (again)

It seems like just yesterday I was posting about organizing the pantry. HERE is the old post about just such a thing. Actually it was a little over a year ago. I have organized it since but nothing too crazy.

This time I pulled out all the stops shelves. The house was originally designed to have the laundry area where the pantry is. Strange enough, with an open floor plan that means in my dining room. The lovely people who first built my house (not me) changed the idea and had the laundry area moved into the 4th bedroom and the bedroom redesigned into a laundry/huge extra random closet. The old laundry area then became the pantry.

This isn't horrible except the shelves are so far apart you can't seem to utilize the space well. Honestly, it totally stinks!

Three huge shelves just doesn't cut it. Look at all that extra room between shelves! Time for a change!

Step 1: Clutter your entire house kitchen with all the things from your pantry while you demo. Do it during something fun like on a Wednesday night after church and two days before something major (like report cards due at school). :o)

Step 2: Grab your hammer! This is the really fun part, DEMO! Take out all your pent up aggression issues out on the shelves.

Step 3: Stand back and realize you didn't think about patching holes or painting and don't really have time for it. Ooppssyyy!

Step 4: Tell yourself you will paint behind there later but right now this has to be put back before your family strings you up.

Step 5: Begin shelf reassignment. We had some old shelves we had purchased from Lowes to use in that extra closet that we also ripped out (more on that later) and had placed these shelves and the track system in the garage. They were quickly re-purposed.
Step 6: Cut down the 2nd shelf so that you can have one seamless shelf the entire pantry wide.

Step 7: Quickly put everything back and call it a day.
It still isn't 100% perfect because I just can't find a solution for bagged items that are large. What do you do when you snag a great coupon deal and get 6 bags of Chex Mix or Chips?

I was able to put many small items into these great containers I bought at Wal-Mart. They were about $12-$14 each but I saved so much room by unboxing items I purchased from Amazon and placing them into the drawers. Each drawer then got a label from my label maker so my husband kids knew where everything was. I was even able to make room for my extra candles (they are in the left container, bottom two drawers), my plastic silverware and extra napkins (bottom drawer on the right organizer) and all those annoying drink packages and tea bags.

With the extra shelves and the items more compact, I was able to bring my cookbooks into the pantry where they freed up an entire 12 inch cabinet in my kitchen to put dish towels and extra ziploc baggies.
I will be posting more on these cute glass jars tomorrow! So what do you think of the pantry now? Is it horrible that I didn't patch and paint first?

Thursday, January 5, 2012

The Kitchen Island Make Over Part 1

The kitchen Island has long been an eye sore right along with my totally hideous racing stripe beautiful kitchen floor. We have thrown around some ideas and pinned pictures on Pinterest of great things one can do as a kitchen island.


I scoured Craigslist for an awesome dresser and just haven't found it. I also took a look at my remodeling budget and with a total lack of funds, sighed loudly and went to Lowes for paint. I picked up the paint that was the last color on the paint sample for my kitchen. Our cabinets were done with Rustoleum's Cabinet transformations color matched to Valspar's Comet Dust.

Valspar 5006-1A Comet Dust at MyPerfectColor

The walls and back splash in the entire area are Valspar's Notre Dame.

Valspar 5006-1B Notre Dame at MyPerfectColor

I wanted the island to be darker than both and still coordinate so I went with the last color which is Valspar's Granite Dust.
Valspar 5006-1C Granite Dust at MyPerfectColor
Valspar 5006-1C Granite Dust at MyPerfectColor   

The Granite Dust color is slightly darker in real life. Since we aren't keeping this island forever, I purchased Olympic 15 year semi-gloss interior paint and had the Valspar color matched to it. Honestly, it was just price. The Olympic was only $18 and the Valspar $33. If it was a forever piece it would have been the Valspar hands down.

This means I can finally get rid of the evidence that I sprayed my cabinets on the kitchen island! It is a war wound I'd like gone.

Step 1 is to remove the hardware, doors, and drawers.
Step 2 is to degloss. I'm using the same deglosser left over from the cabinet transformation. 

Step 3 is scheduled for next Friday night! Whoo hoo! What adventure!


LinkWithin

Related Posts Plugin for WordPress, Blogger...