Pages

Showing posts with label Molding. Show all posts

Friday, April 13, 2012

Working on a Bead Board Kitchen Island Update

Last we left off with out wonderful kitchen island it looked pretty sad and pathetic against our newly painted kitchen. You can see HERE how we spoke of refinishing our dear island and our color choices and why.

Since this week was spring break and we thanked the dear Lord for letting us finally make it to another one, we worked our tails off. First off, we worked on the yard, more on that later, and then we began more work in the laundry room, also more on that one later. We cleaned out part of the garage, still in progress, and we began work on a second garden bed, and painting the island. First up, the color I chose, which was the darkest on my paint chip was too light. The top color is comet dust which is our kitchen cabinets, the walls are notre dame which is the second color and so we chose the third, granite dust. Once opened, I realized it was way too light. So... I did what every cheap DIYer would do, I tinted it myself!

I had a quart of some shade of black in my garage and decided to mix it in with the granite dust so this color is a deep gray with a hint of blue and I have nothing to color compare it too! Sorry.

I also did something that I should have never done: I tried to prepare the cabinets using steel wool and my sheer good looks. Well, that didn't work too well and even though the front of the cabinets were painted and beautiful, they peeled off like a college co-ed at spring break!

Here you can see where I actually cleaned out the bottom. It didn't get wiped out until much later but most of our junk is gone! Know where it went? On top of the island! HA HA HA. It is all gone now too thank goodness!
 I took the doors outside the first time but the wind was blowing so hard we got pieces of leaves and yard stuff on them so I am kind of glad they peeled so I could do them nicely. I then deglossed them using the left over deglosser from our kitchen make over last summer. I scrubbed and scrubbed and then used 150 grit sandpaper from the garage to rough it up a little just in case the deglosser didn't work as well as I wanted. I was grumpy doing it all a second time but I would NOT do it a third time.
After two nights of repainting and letting the front dry, I rehung the doors and drawers and put on some pretty hardware. This was hardware that I had when we decided to redo the kitchen. I purchased 9 but needed 13 so I have these beautiful knobs to use on different projects until I find what I am looking for to use on our actual kitchen cabinets.
My brother had dropped off a bunch of bead board when he moved because I guess my garage looked like a storage facility but I don't mind because I had all the pieces I needed except 1 small pieces so my purchases for the island were one $9.37 pieces of bead board and two $8.00 pieces of trim. I already had all the paint, knobs and other bead board pieces so this whole project so far is under $30.00.

Oh, and our hideous counter top? That stays until I can figure out how to get a huge IKEA butcher block counter top home or we drive there and have it delivered. The island actually featured a place for bar stools but it was a separate piece of counter top screwed into the island and didn't look really nice.
You can see the counter I ripped off on the floor behind the island in the picture above. Oh and don't worry about the bottom of the island, that is where the trim goes. The piece below is not attached, I just leaned it against the island for effect. He He.

I plan on replacing the entire piece with one counter so it has a seamless look. I am in love with this island at Thrifty Decor Chick so I may end up with a routed edge to ours as well.


I am still in the middle of finishing up the trim parts but the entire island is covered in bead board. I am not sure I love the gray but I did find this gem on Pinterest where it is a very dark island with a gray/white kitchen so it may end up repainted again?

Source: bhg.com via Melissa on Pinterest

I totally loved this yellow island but hubby shot me down! Boo! This would have totally rocked out against our gray kitchen. I still may turn our barstools this color so we get a touch of this greatness.

For right now this is how our island looks. I hope to finish the trim/moldings tomorrow and then the top will come sometime next month. At least I know it is better than before.

No the molding on the back is not nailed in place, I sat it there to ensure I had made the correct cut and don't you know it is about 1/2 inch too short but nothing a sliver cut off of another piece and some great paintable wood filler can't cure.


Http://www.iheartnaptime.com

Sunday, December 19, 2010

Living Room Boxes: Part 2 The Actual Boxes


Well, we purchased trim, I cut corners with a miter box (hated it) and then I wised up and realized my little brother had a miter saw (score!). The first few pictures are me cutting with the miter box (and a little help).  See why I get nothing done around here?

After cutting the pieces with his miter saw it went much faster.

To be honest, I started the boxes last Saturday (December 11th) and let just two boxes sit on my wall the entire week.

I just didn't like what I had done. Of course I didn't stop and realize when I figured out my measurements and cut them all that my heat vents were directly in the way (stupid heat).

So.... I had to rearrange and that is what was bugging me. Here is the picture of the first boxes.


See how I had a 33 inch box (my original measurements) but then a small box because I wanted the fireplace to look more "built in". I hated the boxes differences being so large.

So back to the drawing board. I popped the trim off and measured again and cut some of the trim again (used the same trim).  I redid those two boxes and liked them much better. I decided to repeat the 25 inch and then 22 inch boxes on the right for symmetry.  ( I am a teacher after all).

After I finished those two boxes on the left, I measured what was left and glory be I could do one more box the same 24 inches as the first one. Behold, a pattern!

The shorter wall required two smaller boxes at 22 inches but again at least they are the same size as smaller boxes on the other wall.

The chair rail we could not find in vinyl so it is MDF and at Home Depot you can cut your own! Can you believe it? I was able to slice a 16 foot piece into two 8 foot pieces so it would fit in my car!

We did NOT put chair rail completely behind the fire place since it will stay if we ever move. Who wants a huge yellow propane line sticking out of the wall when you purchase a house? Not me! Plus my box measurements all focused around it so it stays and it stays right where it is.

All we have left now in that section is to caulk, fill nail holes and repaint places I missed.
I mitered the corners at the end of the wall and at the window casing. I will paint those white as I touch up.

Then it is moving on to the rest of that large wall. I am then going to start on the other side of the entry way. Our house is laid out so open that you don't even realize those walls are part of the same room. For example, I haven't even painted that 1/2 of our living/ dining/ kitchen from the ugly yellow off-white the previous owner had it and not even my brother has noticed it.

I do plan on doing this gorgeous picture molding over there too.

Once I figured out how to keep the depth of the nail gun to where it needed to be it worked like a charm. I am ready to use it all over the house!

UndertheTableandDreaming


Photobucket

Saturday, December 11, 2010

Living Room Boxes Part 1: The Painted Wall

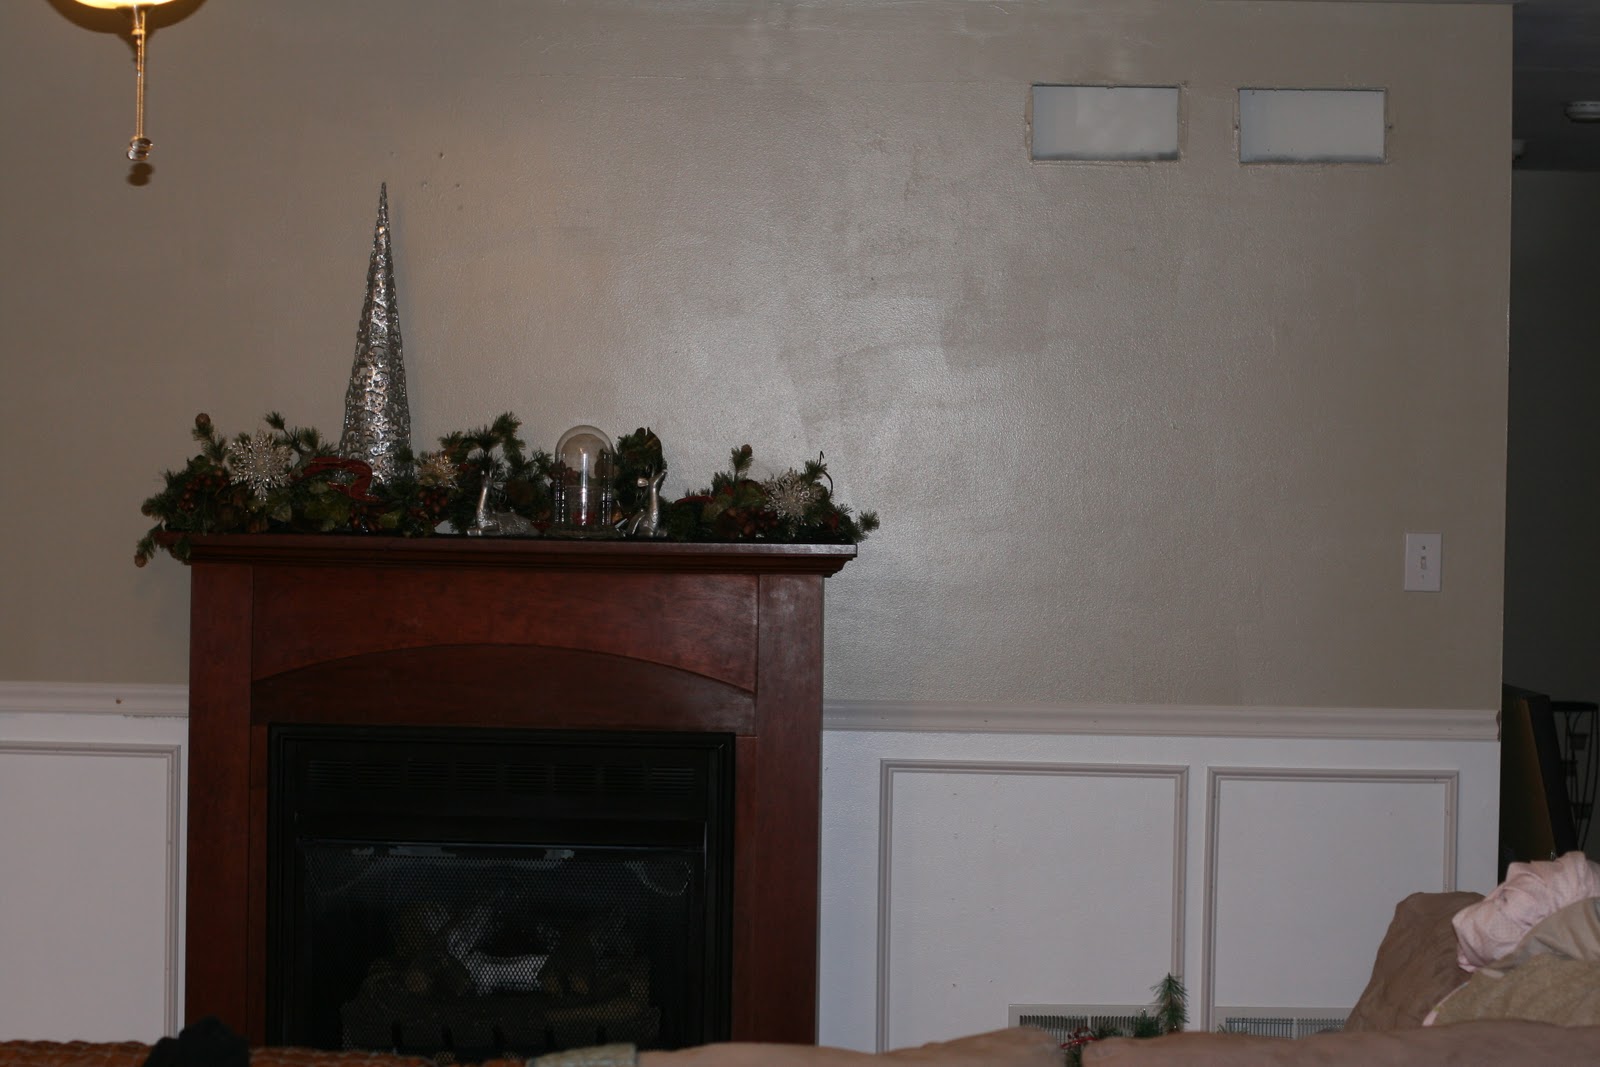
Well I just couldn't wait to start on our living room boxes so Sunday afternoon and evening I painted part of our living room (our house is a huge open area with living room, dining room and kitchen all together).  I stopped painted at the end of the living room window right next to the piano so I can finish next weekend and no one will notice (much).

See how under my windows there just isn't enough room for a box. The entire measurement is only around 8-9 inches. I hope it doesn't look strange with no boxes under the windows but the windows are just so HUGE!

Hubby and I measured 36 inches from the floor up the wall and marked with a pencil. Then I painted the bottom trim and bottom part of the wall white.

 The beginning of change. Already I can tell it will make a difference.

I know without the trim it looks funky but with just the white wall section against the fireplace and white painted entertainment center we're starting to go places. The trim pieces will get cut today and hopefully nailed in tomorrow with my new toy
Ahhhh.... tool love!

I'll post the rest of our living room transformation as we finish up!

Saturday, December 4, 2010

Vinyl Trim LOVE and a little lovin' for Home Depot


I searched everywhere for the infamous "picture molding" that is all over the blogisphere! My usual favorite Lowes had everything but! If they had vinyl molding they hide it VERY well. My only option there was primed pine molding at $1.05 a foot.

Tonight at Home Depot (my new favorite!)  I found a whole aisle of vinyl molding! They had a 12 foot piece of vinyl casing for only $8.79! For anyone who is looking for it is item # 070673836879 and is called Basecap 12'.  That works out to only $.73 a foot! Whoo hoo!

We purchased just one piece to "test" it out at our house. We will be buying more once I thoroughly measure and figure out just how much we need for our "boxes".

I have pulled the paint out and the paint brush but we also have Eclipse tonight from the Redbox so I am thinking the paintbrush and lovely paint can will sit idle until tomorrow after church when Eryn takes her nap and Emma can sit and read. They have previously been known as Squishy #1 and Squishy #2 but my brother said that sounded stupid and since we all know little brothers are always right (ha ha ha) I have decided maybe to change it. So Emma is our 6 year old and Eryn is our 3 year old. I'll fill you in on more details later.

Pictures of the actual molding to follow with posts about our living room wall redo!

LinkWithin

Related Posts Plugin for WordPress, Blogger...