Showing posts with label Handmade. Show all posts
Thursday, March 1, 2012
Homemade Cream Chese Wontons
We are trying to eat more plant based at our house. I know cream cheese is not at all plant based but we had not yet made wontons so we wanted to try a fairly simple recipe first. The verdict? We LOVE them!
Step 1: Buy your ingredients:
1 8 oz. package cream cheese
1 small package of green onions (green parts chopped)
1 package wonton wrappers
1 small bowl of water
2 cups of oil (we used 1/2 veg and 1/2 olive)
1 small pot to fry
Step 1: combine cream cheese and green onions.
Step 2: lay out wontons and fill each with 1/2 tablespoon of cream cheese mixture.
Step 3: Fold wontons into halves. We experimented with the envelope shape but I didn't like how they fried so we stuck with just folding them in half.
Step 4: Fry in the heated oil for about 30 seconds on each side and drain on a paper towel.
Step 5: EAT!
Labels:
Family,
Handmade,
Real Life,
Recipe,
Vegetarian
Tuesday, February 28, 2012
Dr. Seuss Thing 1 and Thing 2 Pinterest Project
My friend I teach with found a great craft for her autism room for Dr. Seuss day this year on Pinterest. She did these adorable thing 1 and thing 2 hand print crafts with her students yesterday and I just had to do this with my girls at home. I would have liked to have done this with my 2nd graders but I can't imagine hand painting 24 students' hands 4 times each! That would create chaos in my classroom. We are doing other crafts less labor intensive.
Here is the original pin from Pinterest.
We began with collecting our supplies. They include:
1 container peach colored paint
1 container red paint
1 container blue paint
1 black sharpie
4 pieces of construction paper
3 small paper plates
3 paint brushes
2 willing little girls
We began by painting one of the girls' hands with the peach color in the center and the blue all around. Repeat with other hand on other piece of paper. Repeat with other girl :o)
Once both blue hands are stamped and dry, repeat with the red except skip the middle finger or your things 1 and 2 will have 3 legs. If you skip the middle finger when painting you get two arms and two legs with your red prints. Flip the paper over to stamp the red hands.
Here is the original pin from Pinterest.
We began with collecting our supplies. They include:
1 container peach colored paint
1 container red paint
1 container blue paint
1 black sharpie
4 pieces of construction paper
3 small paper plates
3 paint brushes
2 willing little girls
We began by painting one of the girls' hands with the peach color in the center and the blue all around. Repeat with other hand on other piece of paper. Repeat with other girl :o)
Once both blue hands are stamped and dry, repeat with the red except skip the middle finger or your things 1 and 2 will have 3 legs. If you skip the middle finger when painting you get two arms and two legs with your red prints. Flip the paper over to stamp the red hands.
Once they are completely dry, draw on the faces and names on the peach colored sections and have each child sign them. I dated them with today's date and hung them on their bedroom doors. Once we have finished all of our Dr. Seuss celebrations we will take them down and put them into our scrapbook.
Happy Dr. Seuss Week and Read Across America Day!
Thursday, February 2, 2012
Spraypainting Curtain Rods and DIY Tablecloth into Curtains
I looked and looked all over the blogisphere for something to do with my 3 HUGE windows in our living, dining and kitchen. I did find a lovely tablecloth at Target that I was going to split in half for each curtain. I didn't want them too full and I didn't want to close them as we just pull our blinds down each night instead.
I was able to purchase 3 tableclothes at $19.99 each and split them down the middle. I then sewed a very basic seem down the side I cut and hung them with clips purchased from Wal-Mart.I purchased 4 bags at $7 each so those were quite costly.
I was able to get 3 curtain rods for $7 each at The Christmas Tree Store and sprayed them with ORB (oil rubbed bronze) spray paint which was $6 at Lowes.
The total project cost was:
Curtains: $60.00
Clips: $28.00
Curtain Rods: $21.00
Spray Paint: $6.00
Total: $115.00 for three HUGE windows that run the length of my house.
I was able to purchase 3 tableclothes at $19.99 each and split them down the middle. I then sewed a very basic seem down the side I cut and hung them with clips purchased from Wal-Mart.I purchased 4 bags at $7 each so those were quite costly.
I was able to get 3 curtain rods for $7 each at The Christmas Tree Store and sprayed them with ORB (oil rubbed bronze) spray paint which was $6 at Lowes.
The total project cost was:
Curtains: $60.00
Clips: $28.00
Curtain Rods: $21.00
Spray Paint: $6.00
Total: $115.00 for three HUGE windows that run the length of my house.
Labels:
Dining Room,
DIY,
Handmade,
Kitchen,
Living Room,
Sewing,
Spray Paint,
Target
Tuesday, January 3, 2012
Holiday Craziness and Adorable Holiday Milk Bottles
Pardon the fingerprints. The 4 year old likes to help "load" the dishwasher now.
We have a Christmas gathering for my husband's side of the family each year at Christmas Eve. For the last five years it has been at our house. We got off at 12 on Friday from work and hurried like crazy busy bees to finish everything. Saturday we had two other places to go before our party that night so we were totally
In the middle of it all, I also decided to make all of our Christmas gifts for adults. I made cake balls, coconut/dark chocolate cookies, peppermint bark, peanut butter cups, and peppermint patties. Here is what my peppermint bark looked like but I didn't think
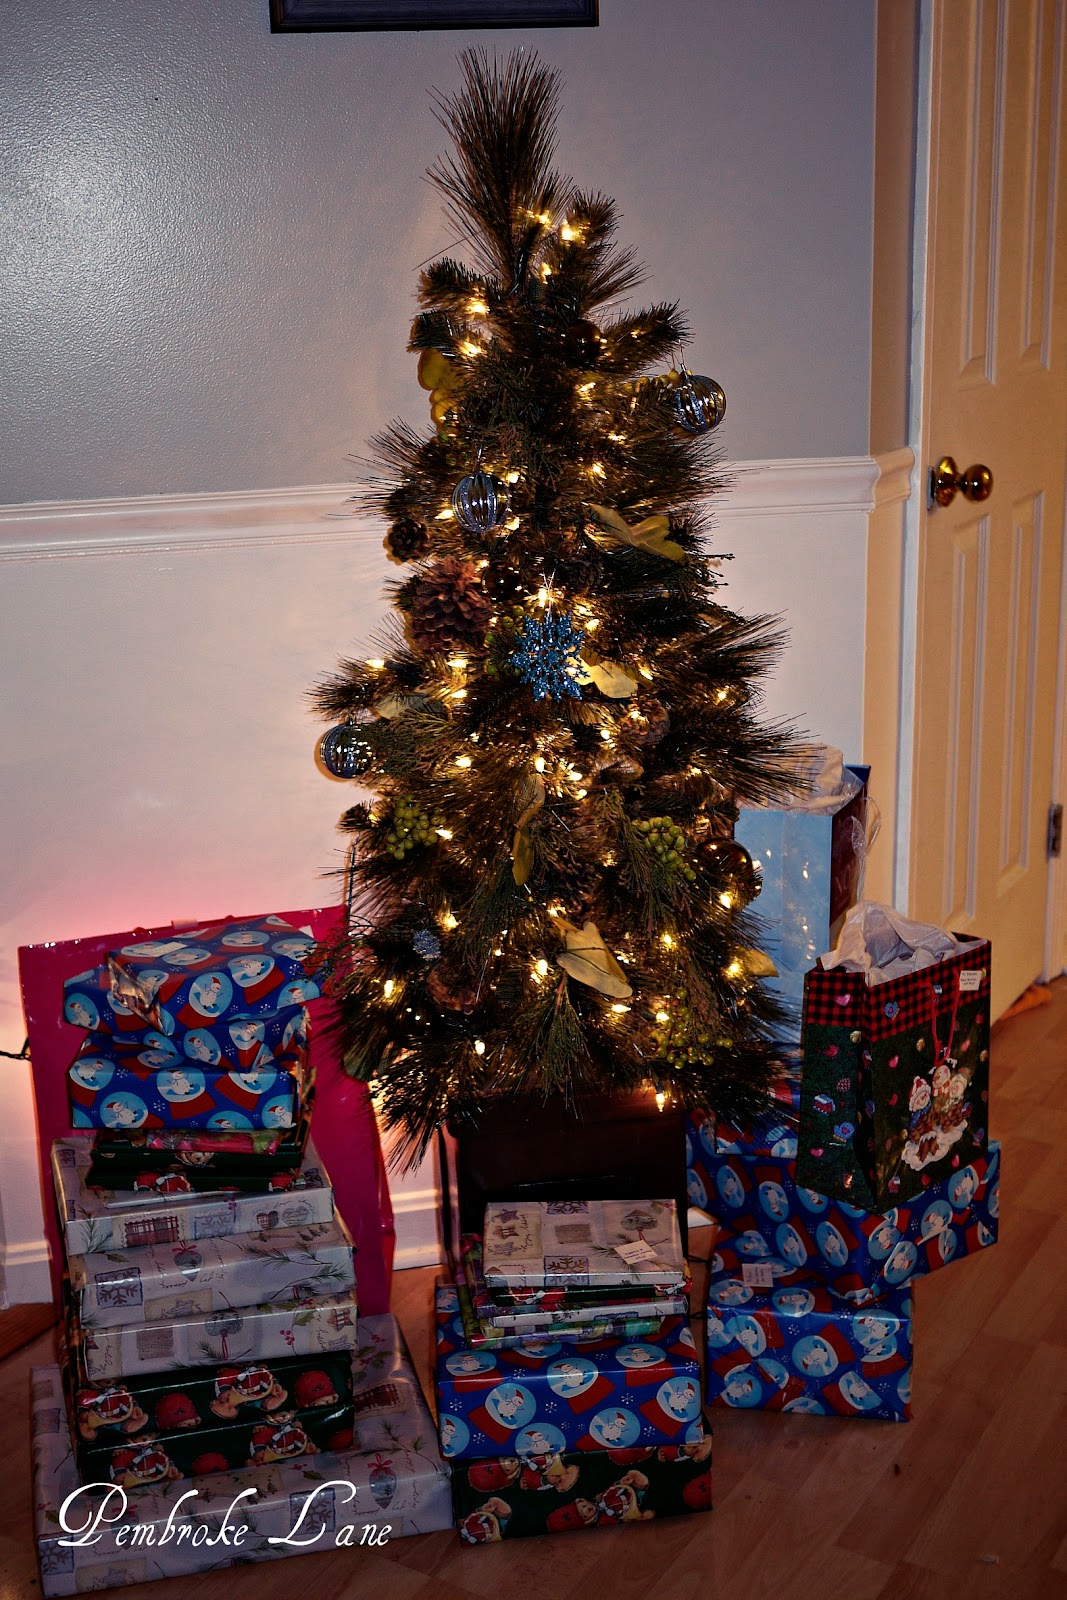
We also didn't put up a large tree this year because well, we didn't have one! Our fake one died last year and we never found one after Christmas shopping. I found this adorable 4 foot one and we were going to put it on the porch until we realized we didn't have one this year and it became our tree inside. We
I showed them though. I bought it at 80% off after Christmas for next year. It has colored lights which seems so retro to me but the girls thought it was awesome. We left it up for a few days just so we could saw we had a tree up.
I made some adorable milk bottles from Starbucks frappuccino glass bottles using some great printables from HERE . It is from Shindig Parties on Etsy! I love Etsy!
Step 1: Drink Frappuccino :o)
Step 2: Wash out bottle
Step 3: Soak bottle in soapy water for about 20 minutes to loosen up the labels.
Step 4: Peel off the labels (there are 2) and use Goof Off or Goo Be Gone on any residue that remains.
Step 5: Wash again in hot, soapy water or your dishwasher.
Step 6: Cut out adorable labels from Etsy and tape around bottle
Step 7: Put coordinating straw in and enjoy!
They were also good Christmas morning with apple juice while Daddy made pancakes!
Thursday, December 2, 2010
Handmade Holiday Crayon Presents!
Sew Totally Smitten has made some ADORABLE holiday crayon presents. As a teacher, I have a TON of crayons so we will be totally trying this one out this weekend!
Click HERE to check out her directions and cute photos. I'll post back with how ours turn out after we give it a try!
Labels:
Christmas,
Featured Blog Idea,
Handmade
Subscribe to:
Posts (Atom)