Pages

Showing posts with label Family. Show all posts

Monday, April 2, 2012

Reconstructing a Raised Garden Bed

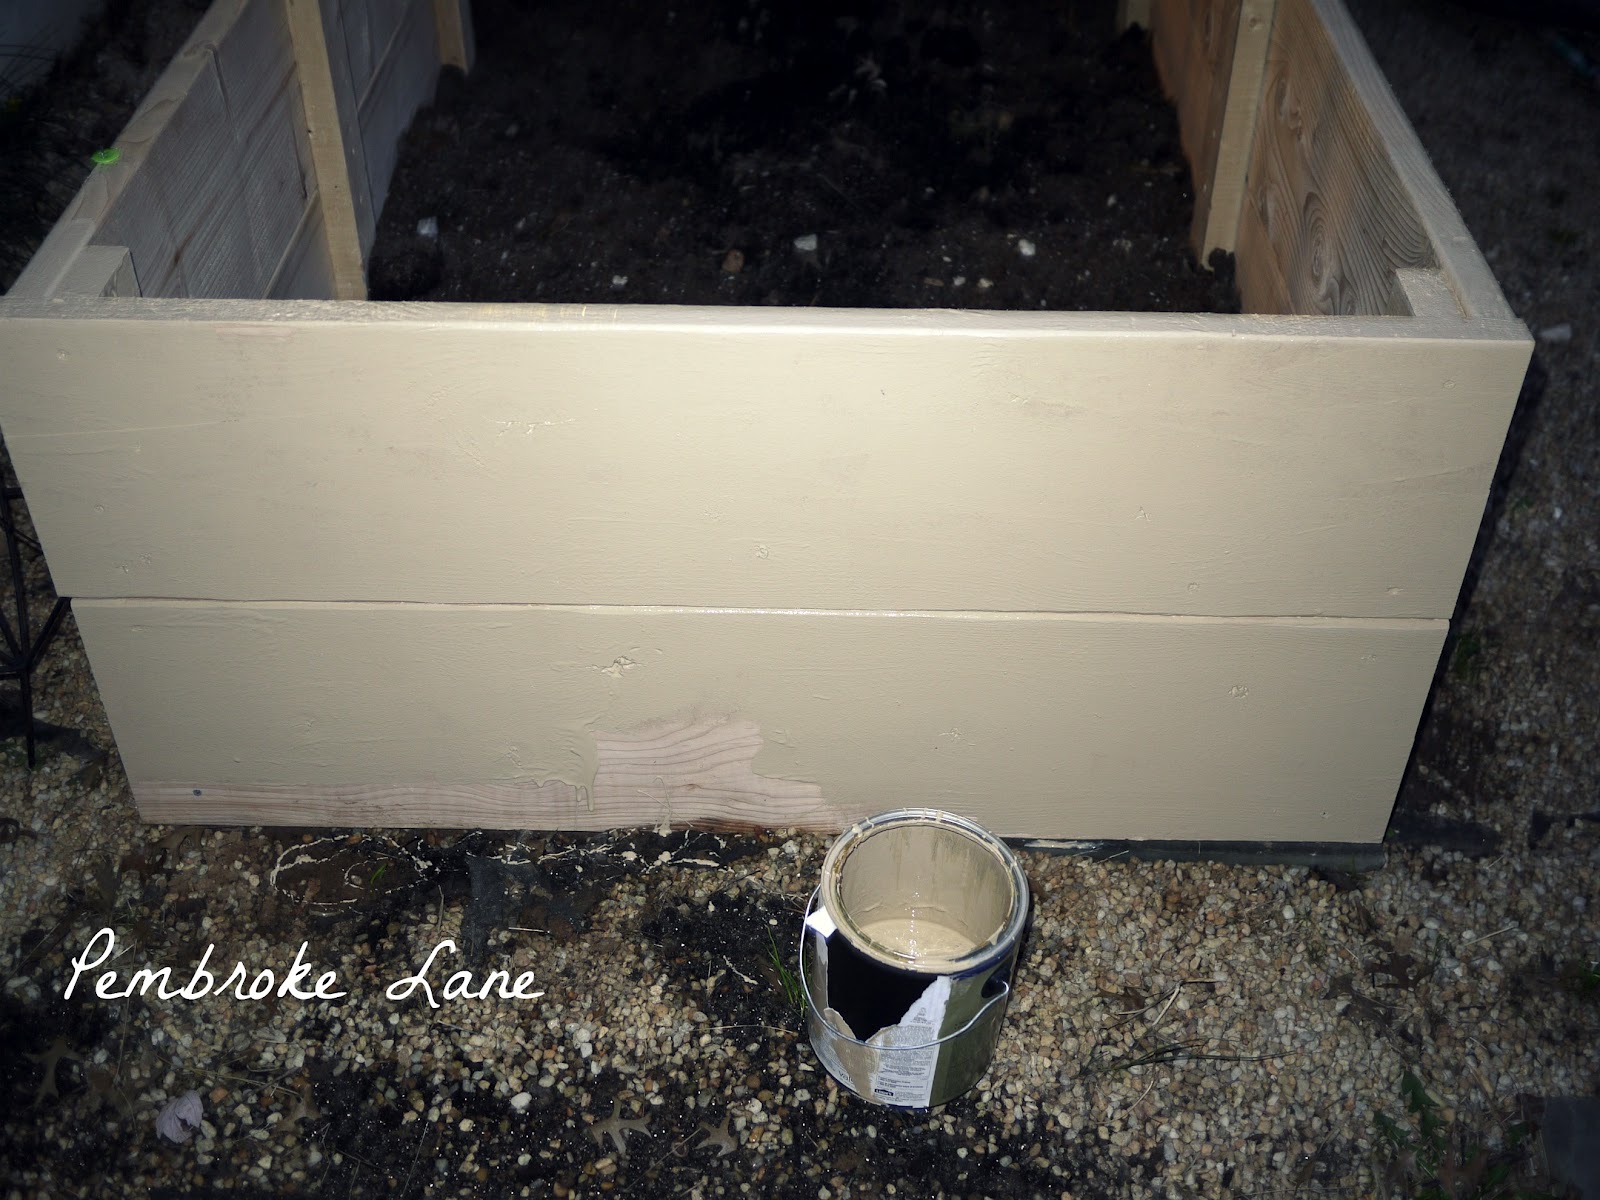
Okay so I painted the garden bed and was all excited to get planting our new higher garden bed. We had previously told you HERE all about how we had built our raised garden bed and had filled it with the remainder of our dirt mixture from last year's beds.

Since then, we purchased 10 bags of hummus/manure to mix in with 1 more large bag of Peat and 1 bag of Vermiculite. We got the vermiculite and peat into the box and were able to get 7 bags of hummus into the bed before I realized/thought about it and decided that the double 12 inch boxes (24 inches total height) was just too high. So.... we worked on it a little.


After unscrewing the 4 large boards I grabbed a saw and took the studs by the horns and cut them in half.

Then we screwed the pieces back together to create a 2nd garden bed. That bed isn't filled or ready yet but now I have two, one on either side of the deck and it didn't cost me any more money. Of course, I will need to purchase more manure/hummus, vermiculite and peat for the 2nd bed but whose really counting? Not me right now.
More on the rain barrel soon. For now, we are weeding, killing some grass along the fence line and around the deck/rain barrel and then filling and getting our second garden bed ready. We can't wait to have a lush, beautiful garden!

In case you are wondering, we currently have 2 Big Boy tomato plants, 1 Steak Tomato plant, 24 Georgia Sweet Onions, 2 Romaine Lettuce plants, and 9 Bib Lettuce plants. We will be getting other things to plant this week. We also have two strawberry plants in a pot as well as Raspberry bushes we need to move from the front of the house to transplant somewhere in the back. They kind of took over where we had them last year.

Saturday, March 31, 2012

Constructing a Raised Garden Bed (A Tutorial)

We purchased raised garden bed kits from Home Depot about 3-4 years ago. They were 4 feet by 4 feet and quite expensive at $30 a piece. We spent about $150-200 purchasing all of our dirt supplies (compost, vermiculite, and peat).  Mix those three together and you get a really healthy soil where most plants will flourish.

Fast forward three years where we have not added compost and we want a more cohesive look to the backyard and taller beds to keep out the dogs who have no idea and trample over the garden beds.

We also have a weed filled mess since the garden beds were not too far from a tree and weed paper isn't the greatest barrier apparently. Our oldest graciously offered to assist in the weeding since we wanted to reuse the old soil mixture and add more when completed.

After the first bed was weeded, we unscrewed the lattice on top of the bed and got to work building our new bed which we would pick up and place in the spot of the first garden bed we had just weeded.

For tools we used:
Deck Screws (because it was an outdoor use and we already had them)
My new BABY drill, our Rockwell! I have the Sonicrafter and LOVE it! So far we are also in love with the drill as well.
We also purchased 6 pieces of 8 ft by 12 inch lumber (not treated) from Lowes. We used a coupon and a birthday gift card so we paid about $40 for all of them once it was over.

Two studs were also cut apart into 8  22 inch pieces to use as supports. These we already had that I had purchased for a closet project and had changed my mind on the design and still had them sitting in the garage.

We cut the two of the 8 ft pieces into 4 ft so we could stack them on top of one another.

We had to flip the board and cut from the other side as our saw isn't wide enough and I do not have enough control over our skill saw to use that for this type of work.
We began by cutting some studs into 22 inch pieces (the boards were not really 12 inches. More like 11 1/4 if we were lucky so 22 inch pieces went from top to bottom of two boards together.
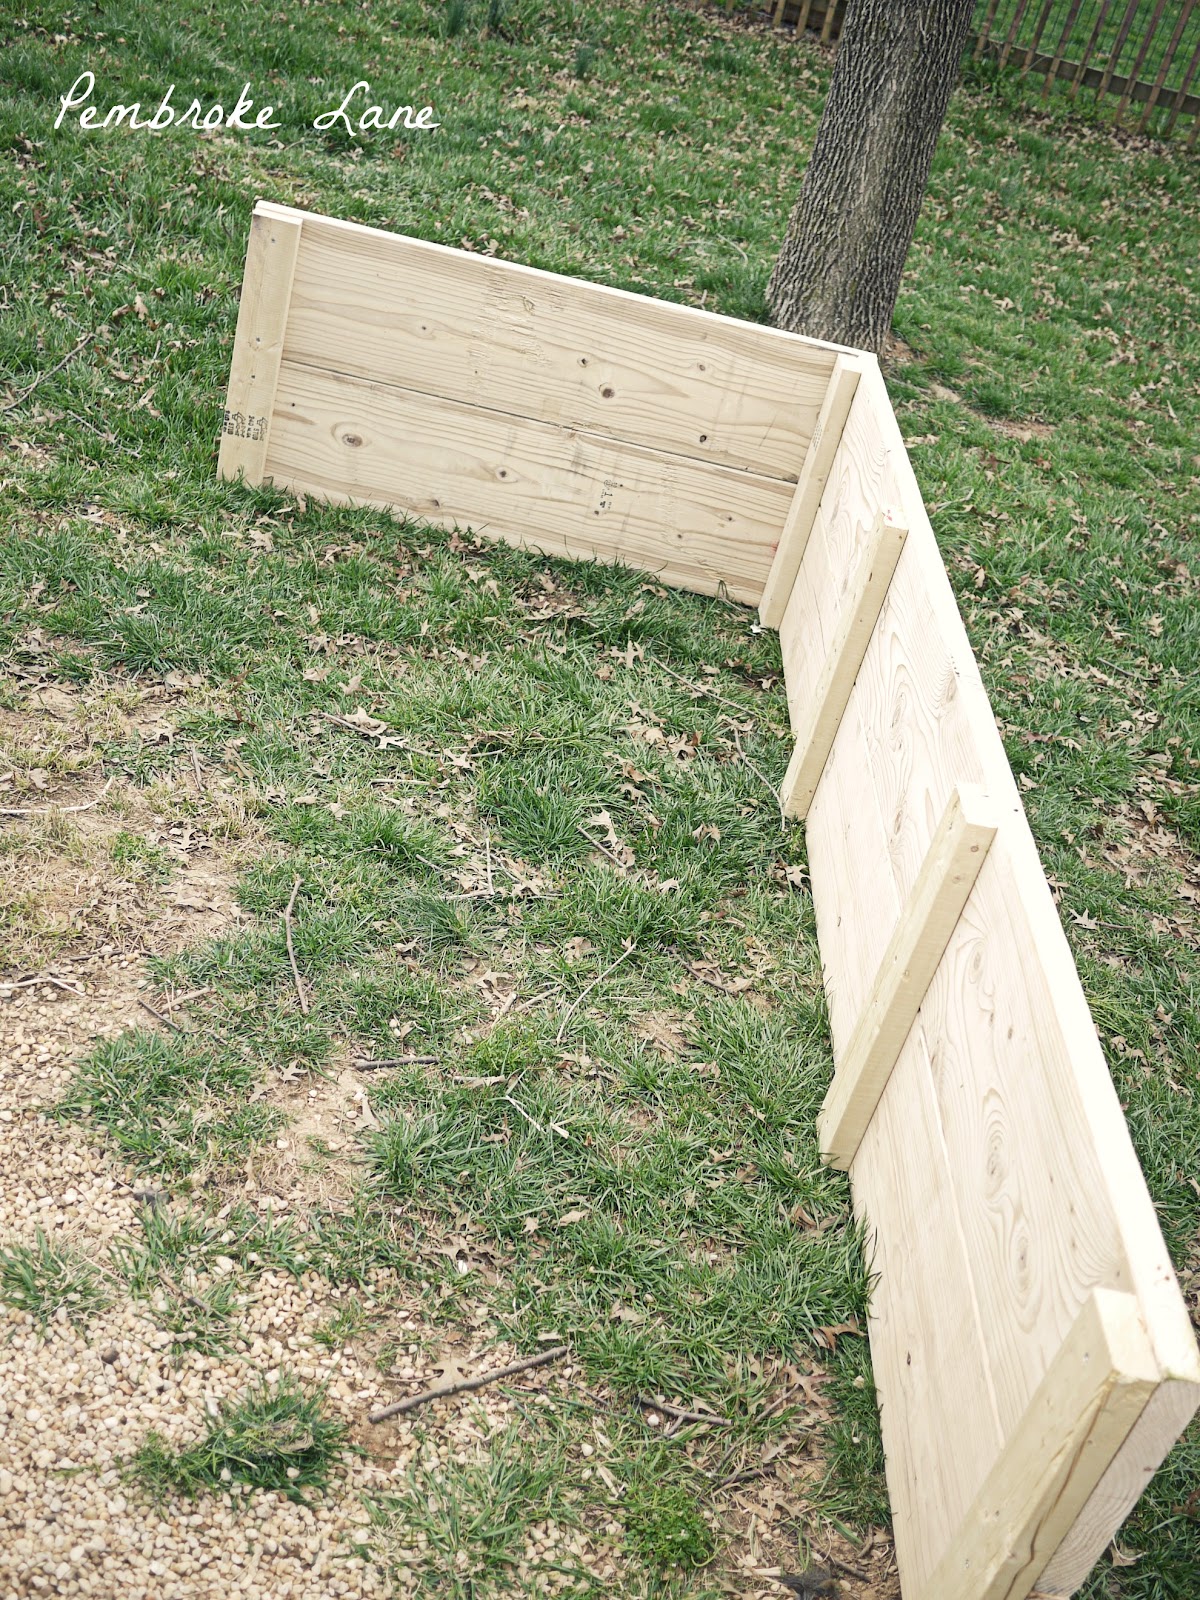
We screwed four deck screws into each stud (2 screws into each pieces of wood) through the stud. We also screwed two studs spaced evenly in between the ends so we could make sure it was sturdy. Once we had two sides screwed together in this manner, we too the 4 foot cut pieces and screwed them into the ends of the long boards.
Here is the 3 pieces together. We finished it up and moved out our old garden bed and placed the dirt in our wheel barrow. This allowed us to get the garden bed in place without trying to work around the soil we wanted to keep.
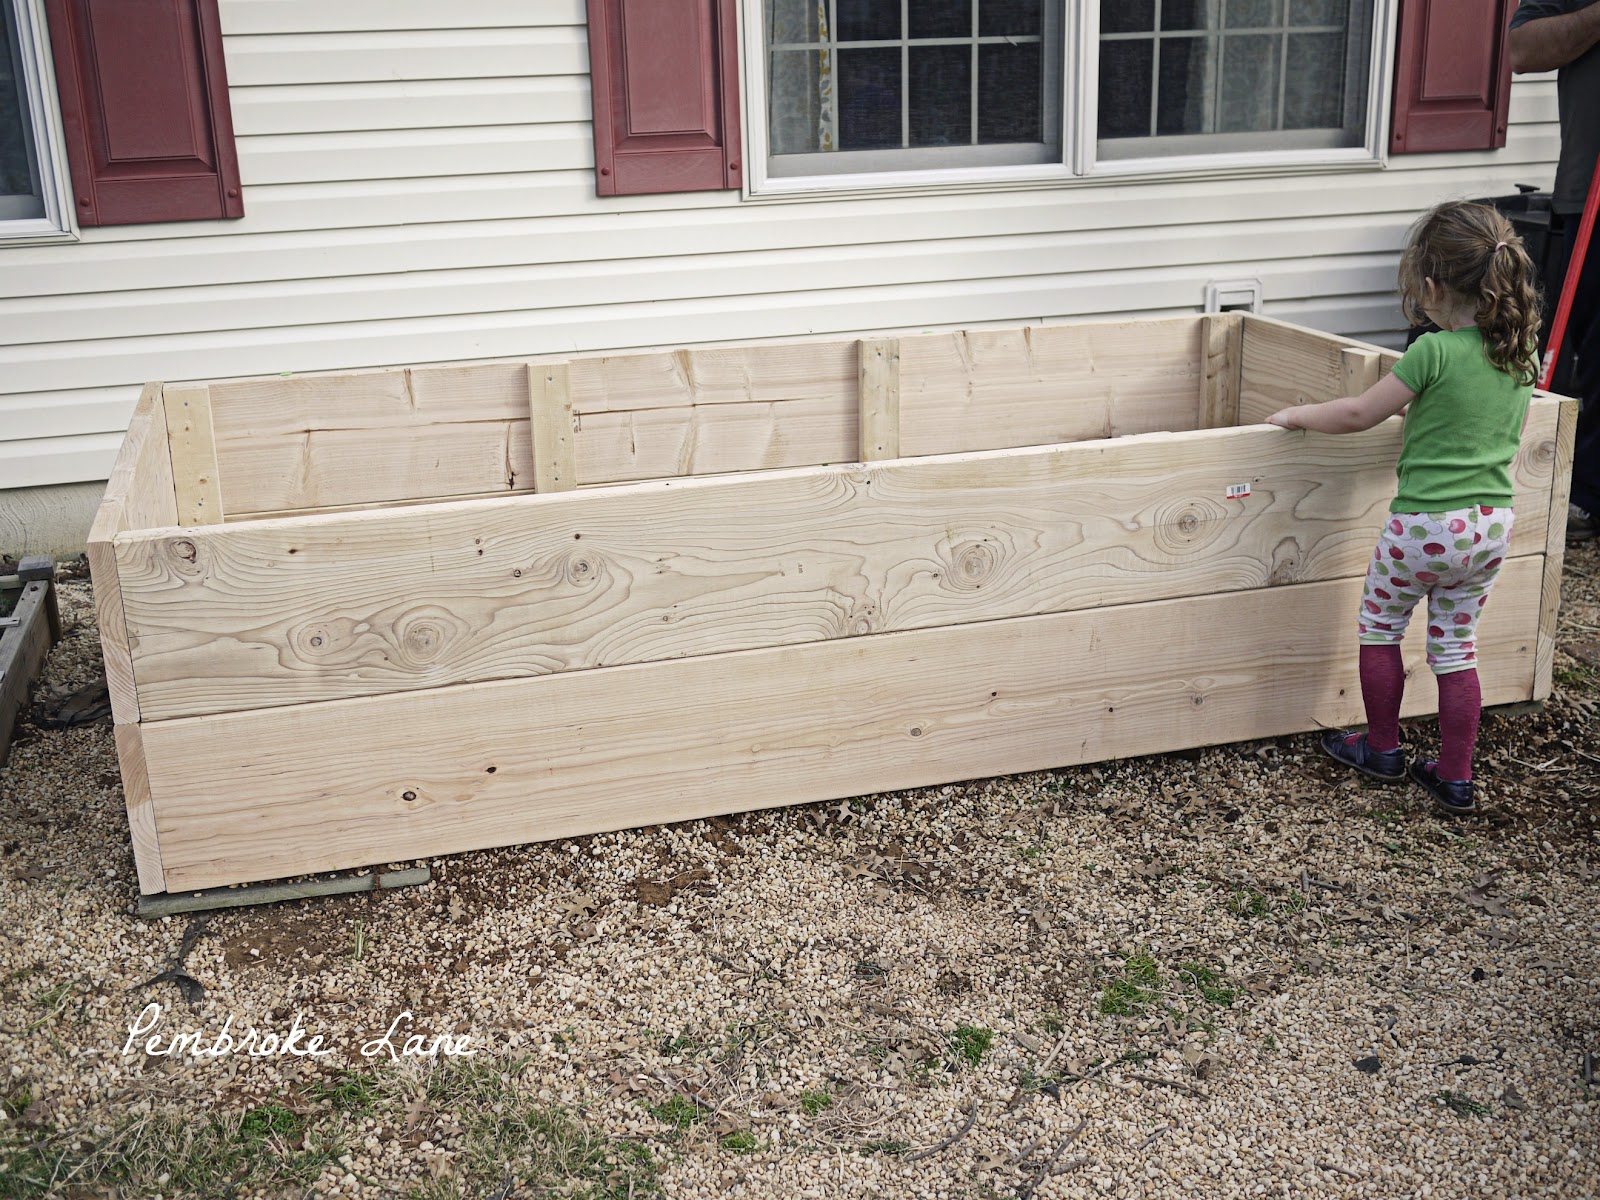
We had three garden beds that were 4 x 4 and had left 4 feet of space in between each one so our total original space was 24 feet and some change (near the propane tank we didn't count).  So when we removed garden bed #1 we ended up with a 12 foot empty space in which to work. Our 8 foot bed fit in nicely.
Pardon my daughter's fashion choices. Once we are home for the evening she gets to pick whatever she wants to wear. Today's outfit was an apple pajama pant, a sunshine pajama top, magenta tights and church shoes. They are old church shoes so I didn't mind.
 We leveled the garden bed with some slate outdoor tiles we had to ensure that when watered the garden it would not all drain to one side. We also laid the old black weed paper in the bottom as we put the dirt back in.
Here is the bed once all three garden bed's were deconstructed and the dirt added to the new garden bed. And yes, the child added a red tutu by this point to complete her look.

You can see here how the garden bed is situated in comparison to where the old beds were. It sits on top of the first bed. See how much room we opened up by condensing into one large 8 by 4 foot bed instead of 3 4x4 beds? The last bed by the propane tank never did well anyway because it was overshadowed by the propane tank and cover. So we really only utilized 2 of the 4x4 beds anyway.
Here is what the garden bed looked like inside before we added the dirt. We raked up some of the pea gravel to help the bed drain and then dumped the soil into the bed.
This is what the old soil from the last 3 years combined looked like before we added any of the new mixture.

Next up, painting the garden bed and refilling with new mixed soil!

Thursday, March 1, 2012

Homemade Cream Chese Wontons


We are trying to eat more plant based at our house. I know cream cheese is not at all plant based but we had not yet made wontons so we wanted to try a fairly simple recipe first. The verdict? We LOVE them!

Step 1: Buy your ingredients:

1 8 oz. package cream cheese
1 small package of green onions (green parts chopped)
1 package wonton wrappers
1 small bowl of water
2 cups of oil (we used 1/2 veg and 1/2 olive)
1 small pot to fry

Step 1: combine cream cheese and green onions.

Step 2: lay out wontons and fill each with 1/2 tablespoon of cream cheese mixture.

Step 3: Fold wontons into halves. We experimented with the envelope shape but I didn't like how they fried so we stuck with just folding them in half.

Step 4: Fry in the heated oil for about 30 seconds on each side and drain on a paper towel.

Step 5: EAT!

Tuesday, February 28, 2012

Dr. Seuss Thing 1 and Thing 2 Pinterest Project

My friend I teach with found a great craft for her autism room for Dr. Seuss day this year on Pinterest. She did these adorable thing 1 and thing 2 hand print crafts with her students yesterday and I just had to do this with my girls at home. I would have liked to have done this with my 2nd graders but I can't imagine hand painting 24 students' hands 4 times each! That would create chaos in my classroom. We are doing other crafts less labor intensive.

Here is the original pin from Pinterest. 


We began with collecting our supplies. They include:
1 container peach colored paint
1 container red paint
1 container blue paint
1 black sharpie
4 pieces of construction paper
3 small paper plates
3 paint brushes
2 willing little girls

We began by painting one of the girls' hands with the peach color in the center and the blue all around. Repeat with other hand on other piece of paper. Repeat with other girl :o)


 Once both blue hands are stamped and dry, repeat with the red except skip the middle finger or your things 1 and 2 will have 3 legs. If you skip the middle finger when painting you get two arms and two legs with your red prints. Flip the paper over to stamp the red hands.
 
Once they are completely dry, draw on the faces and names on the peach colored sections and have each child sign them. I dated them with today's date and hung them on their bedroom doors. Once we have finished all of our Dr. Seuss celebrations we will take them down and put them into our scrapbook.

Happy Dr. Seuss Week and Read Across America Day!


Oopsey Daisy

Monday, February 20, 2012

Pinterest Challenge: Ice Cube Lunch Trays

My children were off of school today but alas, as the teacher I was not. While my mother in law got to stay with my two adorable girls I was working. To celebrate a day where both girls can stay home together I decided to complete a Pinterest Challenge I had been dying to try. I found this great picture of a toddler lunch idea.

.

So I make my own for both of my girls. Now, our tray was a little bigger but both girls just loved it. Here is my interpretation of what I called a Rainbow Lunch Tray.
 From left to right is as follows: 1/2 slice of American cheese, mix of chocolate and white chips, 3 sections of purple seedless grapes, 1/2 filled container of ranch dressing, two containers of brocolli, 1 container with 6 mini carrots, 1 container with cheese cracker birdies (Target brand), 2 containers full of animal crackers (about 6-8 animal crackers total), two sections of blue jello roll up (another Pinterest find) and two sections of strawberries (about 2 large strawberries).

My oldest who doesn't usually like raw veggies devoured her plate while my youngest didn't eat all of her veggies but everything else was gone. I think this may be a snow day/ day off from school/ fun Saturday tradition around here. Long live a $2.00 ice cube tray!
Home Stories A2Z

Thursday, January 26, 2012

Bible Cake for Pastor's Birthday


My grandfather's 84th birthday was yesterday. We had a fabulous church service last night in honor of him and took a 50 question quiz on how well you know your pastor. I only missed 9 which isn't bad since he is also my grandfather.

I made this cake last year for his 83rd birthday and found the pictures today when I began making our 2011 year in pictures book. I also realized that I never shared this awesome cake on the blog. And so... today's post was born.

I began by making a large yellow cake in two rectangular pans. I cut the edges so they would form more of a page look and slid them together on my cake stand.
I made some great homemade chocolate icing and put a layer of coconut beneath it. My grandfather loves German sweet chocolate cake so I pulled a little coconut influence from that.
I covered the entire thing in white fondant and began painting. I took gel food coloring in ivory and gold and brushed the entire surface. I then created edges to resemble a book and painted a darker tone.
Do you just love how I steal my child's plastic plate as a palette? Me too!

I added a good Bible verse my grandfather likes and some leaf and ribbon detailing. I also purchased a plain white gumpaste cross from the local cake supply store and painted it up. Somehow I got so wrapped up that I totally forgot to take pictures of the process.
I covered the entire cake in gold luster dust to give it a little extra sheen. This picture was taken in my fridge after I finished the cake.
Happy Birthday Grandpa! May you have many many more!

Monday, April 18, 2011

The Easter Dresses, a Burnt Wrist and No Sleep


Let me explain this lovely title by saying there are no Easter dresses with sleeves to be found anywhere. My opinion is my own and I in no way want anyone to think that I am trying to say everyone should do as I do. However, our church believes that there should be sleeves in clothing for both men and women combined and I grew up always wearing at least short sleeves.

With that said, I cannot find Easter dresses that have anything more than tank top sleeves. I know you can buy shrugs, etc to cover up the sleeves and Emma has done that last year as well as Eryn. But.... the now 3 1/2 year old hates anything she thinks is a jacket and tears it off immediately. It doesn't help that church is always freezing and Eryn is currently sick.

So, with all that in mind I set out to make the girls' Easter dresses this year. Of course, they picked out the fabric and I still have all week so I might make a second set and we'll vote on which ones get worn Sunday morning. I'm not a huge fan of this fabric as it is extremely bright but at $2.00 a yard and the girls' best pick I said yes.
Here is the carnage of my table. No that isn't my telescope, Emma tried to see the stars but it was too cloudy so it ended up on the kitchen table for some reason or another. I purchased a bunch of patterns off of Etsy and tried to make Emma's dress first. Here is the pattern and scrap carnage on my table.
First thing that happened was I turned on the iron to press the fabric as I sewed. Less than 1 minute later I accidentally brushed against it and burned my wrist pretty bad.
Here is the dress after I finished most of it Friday night, very late so not much sleep. Also, with Eryn being sick I haven't slept much because she hasn't slept much. Therefore, I am in great need of a nap. I hung it my bathroom on the hook so Eryn wouldn't see it since it was Emma's dress.
Sad part happened when Emma tried it on Saturday morning only to discover it was too small. It seems the pattern I purchased didn't have the measurements right. Emma is a size 10 and I made a 12 just to be sure she had some wiggle room. Following the pattern precisely made it just a hair too small. So.... I altered it to fit Eryn and finished it for her. Here is Eryn now wearing the same dress after I changed it a bit and added her black lace, sleeves, button, pocket and oh yeah, hemmed it too.

LinkWithin

Related Posts Plugin for WordPress, Blogger...