Pages

Monday, November 21, 2011

Our Pearlized Stenciled Backsplash


This is the beginning of the stenciled back splash we put into the kitchen. We cut out the cardboard piece and traced around each one. Then I hand painted around each place I had traced. I then repeated and repeated and repeated until I cramped up some more. This was finished under the cabinets all around the kitchen. 
 I started by the fridge and moved some things around as I finished. I finally decided until we can afford an electrician to install an above the stove microwave ours must live next to the fridge to get out of my way! I love having a microwave but detest that it takes up my counter space!
 As you can see I messed up around the phone jack we do not use. I will fix it eventually. I messed up majorly in a different spot and just took some of the base paint and painted over it and then painted the metallic back over it.
 This was done with Martha Stewart Opalescent paint from Michael's. I used the white color but it looks silver/gray against the gray wall. We really like it but I need a pop of color somewhere. Can't decide if I need a new Kitchen-aid mixer in a neon color or just artwork. Hmmmm.....
 My mixer has been acting funny lately.


Tuesday, October 4, 2011

Our Kitchen Transformation! (Not yet 100% done)

I have been waiting to blog about our kitchen transformation for a few months now. I have given details about the granite counters but that was as far as I had gone. Well, I am ready to share more! We are not 100% finished as the stencil on the back splash is not really started but that will be worked on this week and next to finish up.

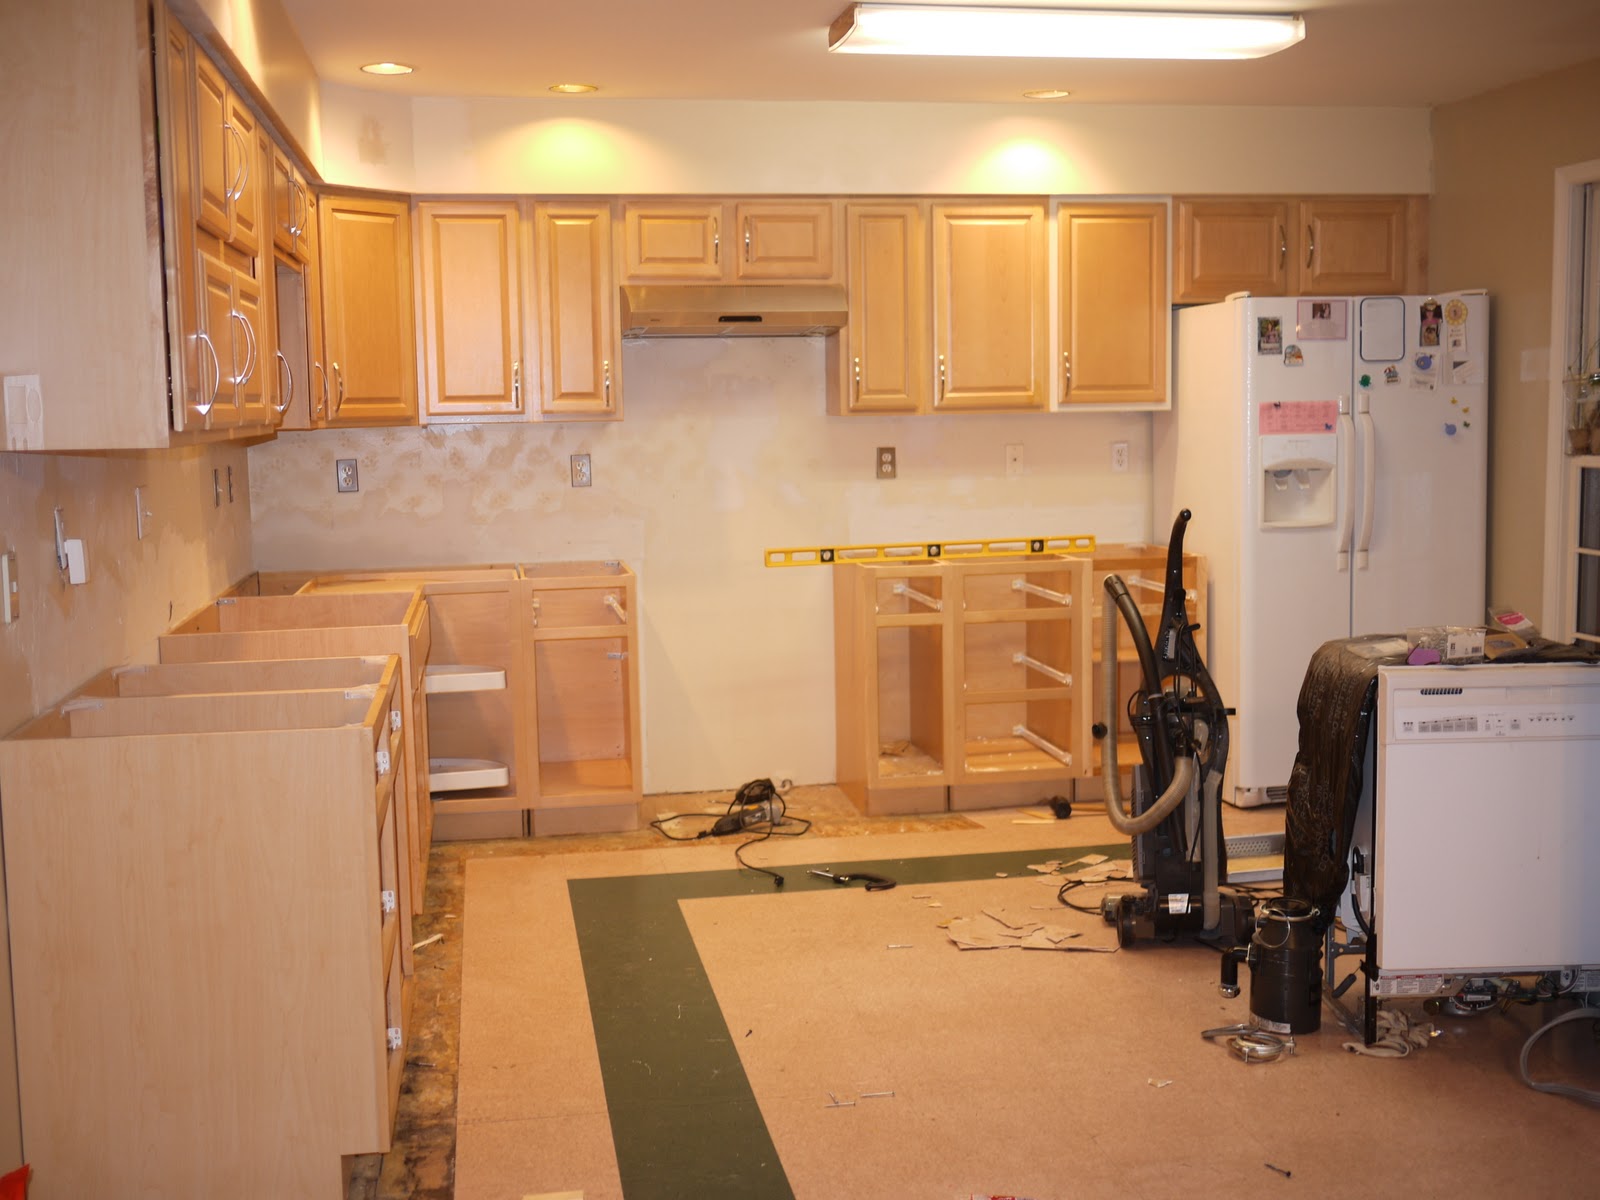
We started with this: (no the racing stripe floor was there when we moved in)
I know it is scary. Plus we were making rice crispy treats. Can you tell?
 One more scary picture just for effect.

The first step in THE GREAT KITCHEN RENOVATION OF 2011-2012 was to work on leveling those cabinets and readying them for the counter.

Here is the 1st step completed with new sink, faucet and counters.

The 2nd step was to work on those blonde cabinets! We purchased Rustoleum's Cabinet Refinishing Kit but we didn't love the colors so I had it custom color matched at my favorite Lowe's. We chose Comet Dust the lighter of the color swatch. Valspar 5006-1A Comet Dust at MyPerfectColor
Valspar 5006-1A Comet Dust at MyPerfectColor

I love it! It isn't quite a gray but it isn't white either. It took 3 weeks to do our whole kitchen! We have a huge kitchen. I have 18 top cabinets alone! We purchased the large kitchen kit.

First you must take down all doors and use plastic gloves to degloss every surface. You can see here the the cabinet face is not shiny at all. That is a good thing!
 Next is the actual base coat layer. I used a brush on the cabinet base to avoid getting paint everywhere. Notice the 2 liter of Coke. Must have my caffeine fix while working!

I used a sprayer on the doors as we were not using the stain after the paint. It is recommended to use a brush so the stain gets into the nooks and crannies. I wanted none of those so we sprayed. It did take FOREVA as we have to wait an hour after deglossing 1 side before you degloss the other and the only place I had to work was in the kitchen on our island.
My brother purchased a sprayer to use on his ceilings and realized it was too small to do the job. It was perfect for my cabinets! Thank you very much! The paint was used with 50% water added to the sprayer.

After spraying, I sanded the edges to give them some character. Then we waited 24 hours before sealing them with the poly coat from the kit. This also went in the sprayer with 10% water added.

After waiting at least 24 hours for the poly to dry I added the hardware back (we used the same cabinet pulls (the drawers are still blank... haven't decided what to use on those)

Then we rehung!

We painted the walls in the entire, kitchen, dining room and living room area the same gray since it is all one open space. We used the 2nd gray on the color sample. It is called Valspar's Notre Dame


Valspar 5006-1B Notre Dame at MyPerfectColor
Our picture makes it look more dark gray than in real life. Our huge window's face the west so we get the sun setting not rising. Boo!
The stenciling still needs to be done on the backsplash as does the island. We are going to paint the island the darkest color  from the same paint swatch. It is called Valspar's Granite Dust. It looks darker in real life compared to the swatch below.


Valspar 5006-1C Granite Dust at MyPerfectColor

The floor is still racing stripe green and will be until next summer when we can afford to put down hardwood in the whole area. 

We now have picture boxes in the entire area with white below the picture rail and the Notre Dame color above with white accents.

Next up, making curtains, finishing the back splash and then painting the island.

Sunday, September 25, 2011

DIY To Be Continued Project List

There are many things I wanted to accomplish this summer before school started back. I did not accomplish all of them but some of them are finished and many of them are only 1/2 finished. I was inspired by Allison@House of Hepworths with her DIY unfinished project list to create my own.

Projects to Finish BEFORE Christmas


#1: Finish Painting Kitchen/ Trim:

I began painting the kitchen back in June when we redid our kitchen cabinets. (You haven't seen that yet).  With such a large open floor plan it is very difficult to find a place to stop one paint color and begin another. With that in mind I made the crazy decision to paint the living room, dining room and entry way the same gray as the kitchen walls. I also decided to put up chair rail like in the living room and paint the bottom half and trim white.

I got it all finished except two spots on the wall, the kitchen window trim and all the doors (there are 4 regular doors and 1 set of bifold to paint). The yellow color in the bottom of the picture is the color the entire house was painted before we purchased it. Painting the white/gray combo covered the last remaining yellow anywhere. I'm not a huge fan of yellow but when you aren't sure if it is yellow, tan or just yuck, that's a problem.
This is the spot next to the garage door in the little bump out section with the trash can closet door as well.

This is the spot by the kitchen window. The left side is the refridgerator door, so it isn't majorly noticeable. Just to crazy people like me and those who help in the kitchen during parties.

#2: Kitchen Backsplash Stencil:

I found this great stencil where someone had created it and used it in their office makeoever. This FREE printable stencil is from Jones Design Company.  She calls is 'painted wallpaper'.  I printed out the stencil and traced it onto cardboard to be more sturdy. I then began tracing it onto the backsplash (wall under the cabinets).  I only got around 1/3 of it traced on. I need to purchase some white opalescent paint so I can hand paint it on. I'd like to have this project finished before Eryn's 4th birthday party on October 16th.


#3: Hang 2 Shelves & Decorate Them:

I have 3 identical shelves that we originally purchased from Lowes in 2004 for Emma's nursery at our old house. We have since moved, had a 2nd child, redecorated Emma's room twice (getting ready for a third already) and decided to use these shelves in the living room.


#4: Hang Mirror Above 1st Shelf:


In the picture above there is a missing mirror. It is a quatrefoil design. I cannot find it on their website so it may be a store only type of item or it could be discontinued. It was $19.99 at the store.


#5: Hang 3 Pictures:

I have 3 picture frames I purchased at one of the local outlet stores on a great sale of $11 each back in December. As you can tell, it is almost a year later. They sat in our bedroom linen closet until I took them out this week and started playing around with where to put them. Haven't decided still 100% where all 3 will go but I do know where 1 is going for sure. I plan to hang them this week or next (before the birthday party)

#6: Put pictures in Existing Pictures:

I have the 3 frames I already mentioned plus a few more around the house that still do not have pictures in them. I need to upload the pictures to Picnik and then get them printed.
I'm sure I have more projects to tackle that I have been ignoring and didn't think of for this post. If I think or find more, I'll keep you updated. In the meantime, how is your DIY list? Is it huge? I know I'm not the only one with such a list.

Monday, September 5, 2011

It's Been a While and a FALL Plate Craft

While I haven't posted much on the blog since July... alright, not at all. You caught me! I have been doing things around our house. In fact, we have totally refinished our kitchen cabinets. More on that later.

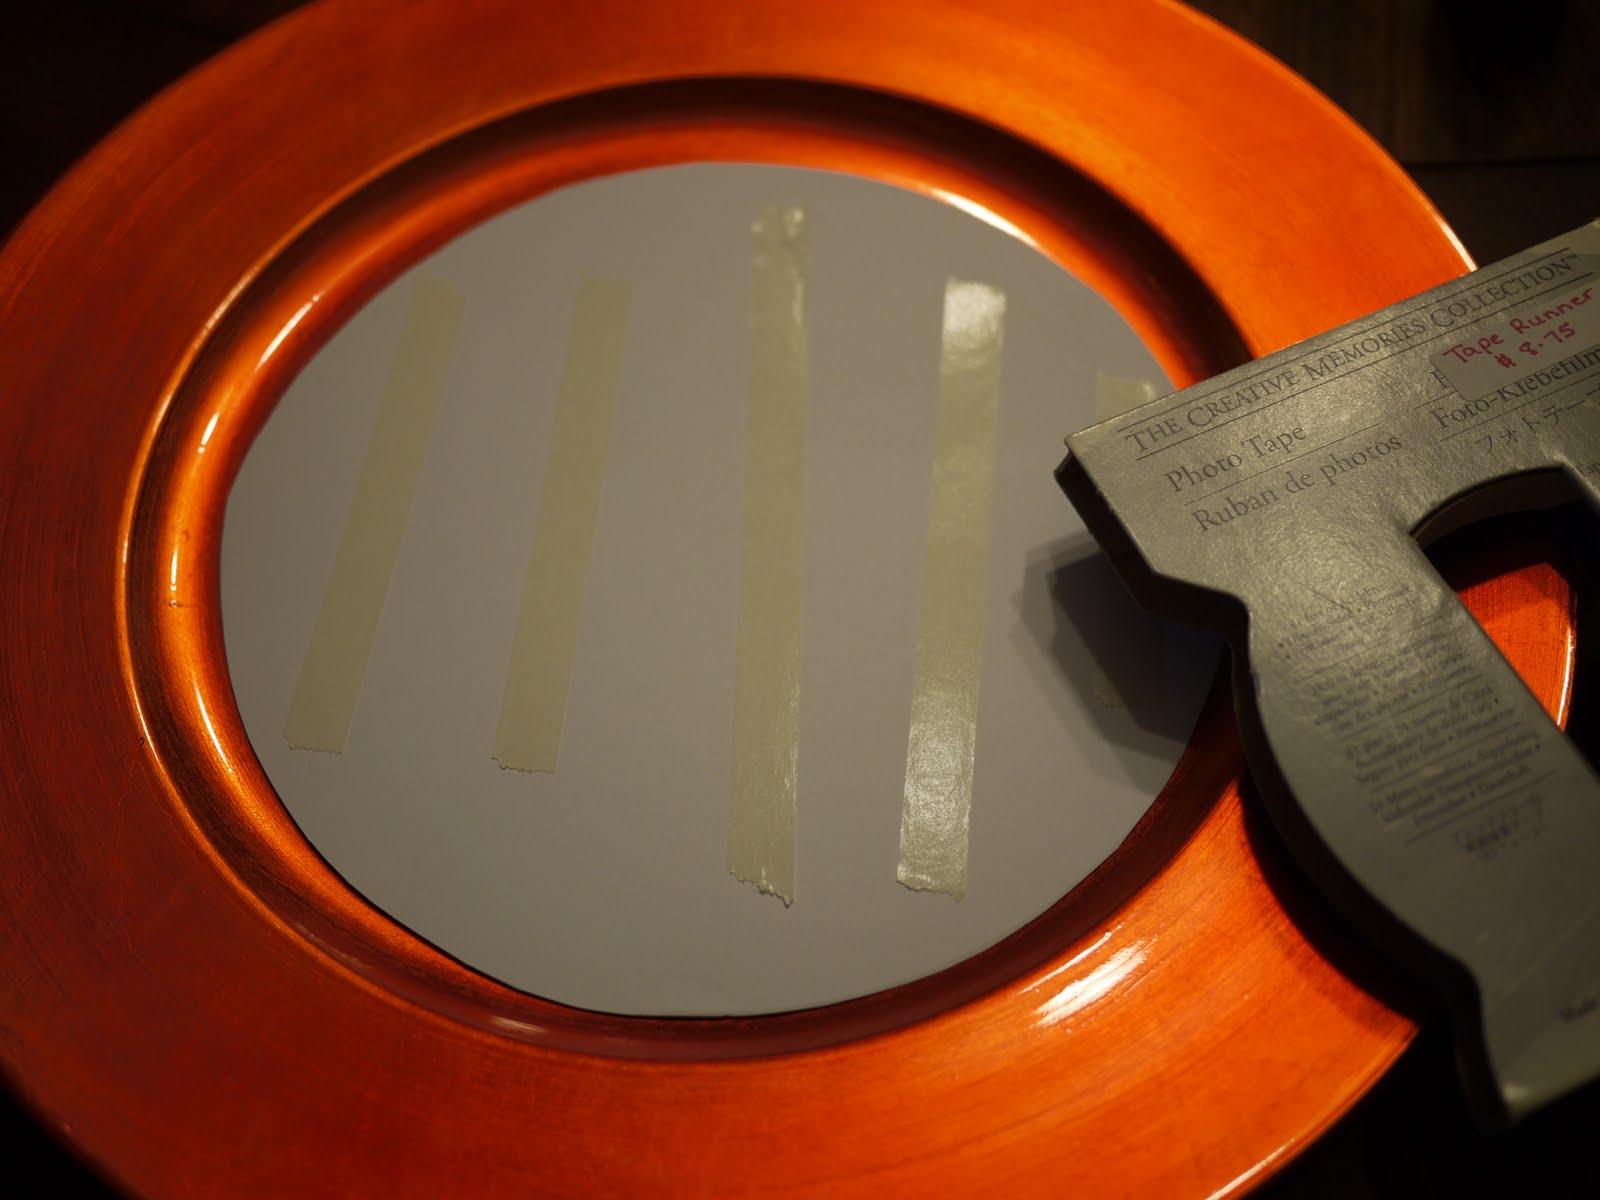
For now, I wanted to share a fall plate craft idea I stole borrowed from Michael's Craft Stores. I was there this weekend, with coupon in hand for their Labor Day sale and snagged this great orange fall plate for only $0.99! Yup! The other supplies I used were:

a letter "G" for our last name: $2.29
orange glitter glue $0.99
Basic Grey paper (had at home)
scrapbook adhesive (had on hand at home)

So... for a total cost of $4.27+ tax I had a custom fall plate for my fall mantle.

Here are the steps.

Step 1: buy materials :o)
Step 2: trace and cut paper to fit inside plate and adhere with your favorite adhesive.

Step 3: using the glitter glue, cover the letter in glitter glue and smear around with finger for semi-even coverage.

Step 4: using glitter glue, make dots as a border around paper about every 1/4 inch.
Step 5: when dry, adhere letter to center of plate ( I used dots so my letter would be even more 3 dimensional)

Step 6: put on plate hanger or stand and enjoy!

Friday, July 22, 2011

The Simple Pleasures of a Child


Who would have thought with all the gadgets and toys a child could want that something as simple as a band-aid would make a child happy. Using coupons, we are able to get cute character band-aids very reasonably priced and sometimes free. This makes our two little girls extremely happy!

We were helping my mother move and Eryn (the little one) fell walking on the sidewalk and skinned her knee. No it wasn't life threatening and didn't even cause her to cry. When we got home she told me she had a boo boo and needed a band-aid to fix it. I told her I'd get her a Barbie band-aid and life was grand. She then danced around the house singing that she had a Barbie band-aid and look at her.

Isn't the life of a 3 year old grand? I LOVE that character Band-aids are something that can cause my children joy.

Thursday, July 7, 2011

Adventures in Dying... An Ikea Klippan Loveseat VS. ME

We purchased an IKEA Klippan loveseat with no cover on Craigslist last month. I did not or was not able to see the legs in the original Craigslist post so I was more than a little shocked to see hideous wooden legs put on the sleek, modern sofa. As you can imagine, they were removed.
Ikea is over an hour and 1/2 away from us so it took us two weeks to head to my favorite store (in competition with Target).  I unknowingly, thought I could purchase Klippan metal legs at the store and an extra cover. My idea was to buy an off-white cover (for $19) and dye it gray.  I had seen a dye job to die for at IKEA Hackers and knew I could do it.

I was unable to find metal legs at IKEA for the sofa but we did purchase these bookcase legs that are super similar in size, form and color so we thought... for $10 sure... we'll try it.
I realized after pulling the wooden legs off that the original owners put them on because one place where the metal legs screw in was crooked. They took a new screw and screwed in the wooden legs just to the outside of the original leg position.

We unscrewed the extra screws and I fixed the crooked spot by inserting a screwdriver inside it and pulling in the right direction. DUH! Super easy!

The couch was also a very old version. The date on the bottom said 1999.  We had to cut off a white gauzy cover to put the slip cover on but no worries.. It turned out fine! The kitten even got into the DIY spirit.
The wooden legs made the couch too high and therefore oddly uncomfortable. It wasn't until we put these legs on and the couch sat lower that we realized that was the problem the whole time. 

Next came the dye job. I found on the RIT website where you can dye items in your washer. We purchased 2 Royal Blue and 1 Sunshine Orange liquid dyes to mix together to get a blue/gray. We pre-washed the off-white cover and then mixed our colors together. 

You can actually pick out over 500 colors at the Color Formula Guide .
We picked out #193 and followed the directions. 

The directions state to only leave it in the dye for 30 minutes max and use super hot water. You are also to add 1 cup of salt into the tub. I stopped the washer at 30 minutes and then rinsed a second time.
After round 1 it came out WAY too blue!
I'm not sure the orange did anything at all. I re-read the directions for machine washing and the only thing I can think of that went wrong is that we have an HE front loader so it uses less water. 

We purchased a black RIT dye and poured the entire bottle in the load and tried to darken it thinking any gray/black would be better than denim blue.

It didn't do anything. When I have time I will use two bottles of black and hope it darkens it. For now, we have a denim blue couch. We go back to IKEA on Saturday to purchase the Klippan 4 seater in black and a few extra off-white covers for me to dye.  With my daughter's birthday party on Sunday I will be purchasing a pink cover for the 2 seater.

New living room/ kitchen makeover pictures to follow. Next time I try to color match and dye a cover I will use 1/2 of the recipe and use a large Rubbermaid container and boiling water instead of our washer. It was a super easy method but lack of extra water darkened the color drastically.

LinkWithin

Related Posts Plugin for WordPress, Blogger...