Pages

Sunday, January 2, 2011

The "Winter" Mantle.... HELP! Plus a little Christmas Clearance Love

Alright well the Christmas mantle came down and I'm working on a mantle decor that I can keep up from January through maybe March.  You know...a SNOW theme. Well, here is what I've got going so far. I've thrown all this together and no most of it doesn't look good. If I had found a mirror for the wall it would help me visualize but I'm still on the search.

So what do you think? The baskets yes or no? I love the glass look but I did already take down the cloche so I could move around some other things. The girls just love the lights with the white over it and I like the Wish saying as we always WISH for snow in this house. We're both teachers remember.

The "Wish" was found on clearance at Kohl's for less than $6 and look at my new tree! We are keeping this baby up all year and just decorating it a little extra for each holiday. It was $32 at Marshall's. Now I NEVER spend that much money on anything but finding this it just screamed at me. I'm SO glad I bought it. My husband likes it and the girls are just nuts over the idea of having a lighted tree up all year.

Am I crazy for doing it? It is only about 4 feet tall and in that adorable little stand. It isn't Christmasy with a kind of lime green theme so I'm hoping to pass it off all year.

Saturday, January 1, 2011

Organizing: Day 1- the Kitchen Junk Drawer


Well, well day 1 of the 21 Days to Getting Organized Challenge was the junk drawer. We actually have 4.  Both drawers in the kitchen island, the drawer in the computer desk and the actual "junk" drawer in the kitchen. I chose our true "junk" drawer which has been labeled as such since we moved in.

I actually had an organizer in there when we first moved in but as we had people over for the holidays and have been remodeling the living/dining room things just got shoved in there.


As you can see there is a white organizer WAY down there.

I took everything out and wiped down the drawer. Then I wiped down the organizer as best as you can (it is 5 years old and cheap plastic).  I plan on a nicer one later when I do my "organizing container" shopping later this month.

After throwing out a ton of old pens/pencils and just junk, my oldest daughter got the spare change and I put everything neatly back into the organizer.

See my strange obsession with binder clips? I am a 2nd grade teacher and married to a high school social studies teacher so that might have something to do with it!


Photobucket

Tuesday, December 28, 2010

Christmas Decorations Take 2

 
This is a white shelf above our piano in our living room. I put the fake snow into the two glass containers and put silver, blue and white balls into the shorter one. I tucked greens around the pieces. The plates are purple in the back and blue in the front on a silver plate stand. The cute little reindeer came from Michael's 1/2 off at only $4.99! I bought 2! The tall container has long silver ornaments hung from it that have little crystals at the end. I finished it off with berries poked in and a small Christmas candle holder. There are a few snowflake ornaments hanging from the hooks. I had this dream for two shelves but didn't get it finished. The picture is printed out and the bottom support pieces purchased to make this happen on a different wall. Look for that post later this month as I create that masterpiece. LOL

My Very Own Cloche

My mother gave me a brass clock from when my parents were first married. It had stopped working but sat lonely on my bookcase. I bit the bullet and took it apart to create my own cloche.

All I had to do was take the three bolts in the bottom out and the clock part fell out. Since the whole thing is glass nothing else had to be done. Voila... a cloche.
Piece of cloche cake! Don't you with all DIY's were this easy?

UndertheTableandDreaming

The Christmas Mantle and Decorations... a little late

I know, I know... it's after Christmas but things were a little crazy here at Pembroke Lane before. School was in session until Dec. 23rd and we had my in-laws over to do our Christmas celebration on the 24th. So it's been nuts!

Here are my lovely Christmas decorations. This being the first year I've had a fire place it was quite fun decorating. I took down all the decorations this morning so they are all naked. *shh don't tell anyone*

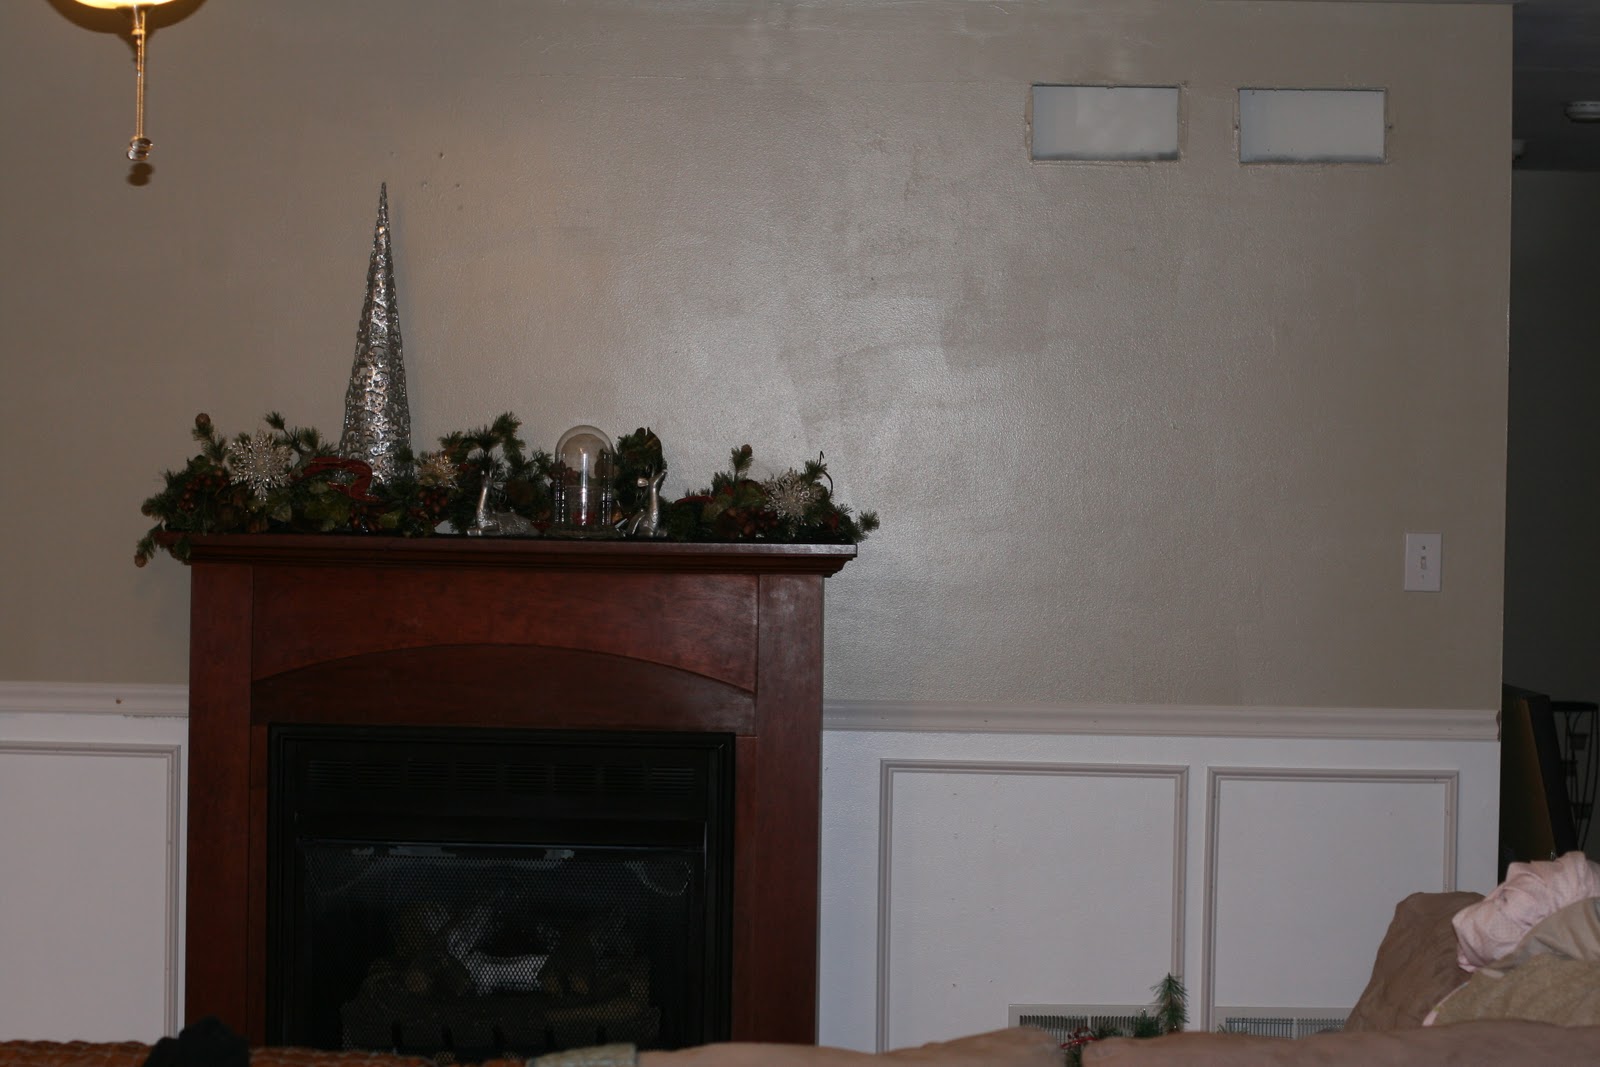
I actually added two smaller triangular trees to the right in a gold/silver mix to even out the height a bit.  I am still missing a beautiful mirror for the top so it looks a bit plain. But... here are the details of my first attempt.
I had a dark bamboo mat that was a table runner but WAY too big for my table. I folded the edges over and under to fit my fireplace and built my entire centerpiece on top of it. The three snowflake came from a shop in Hershey Park when we went a few weeks ago. I have seen the same ones at either Target or Walgreens, can't seem to remember which.
The greens are a HUGE swag my mother gave me. The greens have a burgundy ribbon, burgundy grapes? and some brown/goldish leaves. I wound it around the tall silver tree I purchased last year at Pier 1.


Two of the snowflakes were completely silver while the middle one was gold and silver.


The two small reindeer were present from my mom last year so I'm not sure where she got them from. I just purchased a beautiful gold reindeer that is much larger at Kohl's after Christmas sale for $8 to add to it for next year. 


I also made a cloche that ended up having a gold pillar candle in it. In this shot it still has my votive with red beads in it.


This is my front entry table. I added three hanging pine cone stars to the mirror. I purchased those at the Christmas tree store 1/2 price the day after Christmas. The small pine cone tree was a gift from my mother last year. The angel is from Hallmark and was a Christmas present from my husband last year. The country tree was purchased at the Kris Kringle craft show at Hagerstown Community College in November. This table is the first thing you see upon entering my house. It is on the left immediately after my front door.

Monday, December 27, 2010

A Snowman Bento... a little late

Well I made these snowman bentos for Emma and Eryn's lunch back on the 19th. I just didn't get them posted yet. So... a little late.

These are the new Easy Lunchboxes from Easy Lunchboxes.com. (I have a banner on the right where you can order your own).  They come in packs of 4 for only $7.95 and I purchased one of the lunch bags so when we go somewhere I can carry more than one at a time. I am going to purchase a second bag soon because they are the perfect size for 2 easy lunchboxes and 2 water bottles each so I can just pack those two bags and have lunch/snack for all 4 of us!

The snowman sandwich is actually salami and colby jack cheese cut with a circle cutter. Then I just laid them together in the box and put two cut pieces of fruit leather around for his scarf. and nose. He has sugar eyes pasted on with peanut butter. The scarf is also secured with peanut butter. She has some organic potato chips in the side as well.


On the left she has cocoa and marshmallow gold fish (they are just adorable) and purple grapes. The banana sat on top of the bento box in her lunch bag. She also had Mott's Apple Juice in a reusable stainless steel cup.

So far I have found these boxes easy to use. The 4 pack comes with different colored lids so each one of us can have a different color. Mine is green, Chris' is blue, Emma's is orange, and Eryn's is red (although she thinks it is pink)

If you are interested in Easy Lunch Boxes just check out the link to the right of my blog.

Sunday, December 19, 2010

Living Room Boxes: Part 2 The Actual Boxes


Well, we purchased trim, I cut corners with a miter box (hated it) and then I wised up and realized my little brother had a miter saw (score!). The first few pictures are me cutting with the miter box (and a little help).  See why I get nothing done around here?

After cutting the pieces with his miter saw it went much faster.

To be honest, I started the boxes last Saturday (December 11th) and let just two boxes sit on my wall the entire week.

I just didn't like what I had done. Of course I didn't stop and realize when I figured out my measurements and cut them all that my heat vents were directly in the way (stupid heat).

So.... I had to rearrange and that is what was bugging me. Here is the picture of the first boxes.


See how I had a 33 inch box (my original measurements) but then a small box because I wanted the fireplace to look more "built in". I hated the boxes differences being so large.

So back to the drawing board. I popped the trim off and measured again and cut some of the trim again (used the same trim).  I redid those two boxes and liked them much better. I decided to repeat the 25 inch and then 22 inch boxes on the right for symmetry.  ( I am a teacher after all).

After I finished those two boxes on the left, I measured what was left and glory be I could do one more box the same 24 inches as the first one. Behold, a pattern!

The shorter wall required two smaller boxes at 22 inches but again at least they are the same size as smaller boxes on the other wall.

The chair rail we could not find in vinyl so it is MDF and at Home Depot you can cut your own! Can you believe it? I was able to slice a 16 foot piece into two 8 foot pieces so it would fit in my car!

We did NOT put chair rail completely behind the fire place since it will stay if we ever move. Who wants a huge yellow propane line sticking out of the wall when you purchase a house? Not me! Plus my box measurements all focused around it so it stays and it stays right where it is.

All we have left now in that section is to caulk, fill nail holes and repaint places I missed.
I mitered the corners at the end of the wall and at the window casing. I will paint those white as I touch up.

Then it is moving on to the rest of that large wall. I am then going to start on the other side of the entry way. Our house is laid out so open that you don't even realize those walls are part of the same room. For example, I haven't even painted that 1/2 of our living/ dining/ kitchen from the ugly yellow off-white the previous owner had it and not even my brother has noticed it.

I do plan on doing this gorgeous picture molding over there too.

Once I figured out how to keep the depth of the nail gun to where it needed to be it worked like a charm. I am ready to use it all over the house!

UndertheTableandDreaming


Photobucket

LinkWithin

Related Posts Plugin for WordPress, Blogger...