I have been waiting to blog about our kitchen transformation for a few months now. I have given details about the granite counters but that was as far as I had gone. Well, I am ready to share more! We are not 100% finished as the stencil on the back splash is not really started but that will be worked on this week and next to finish up.
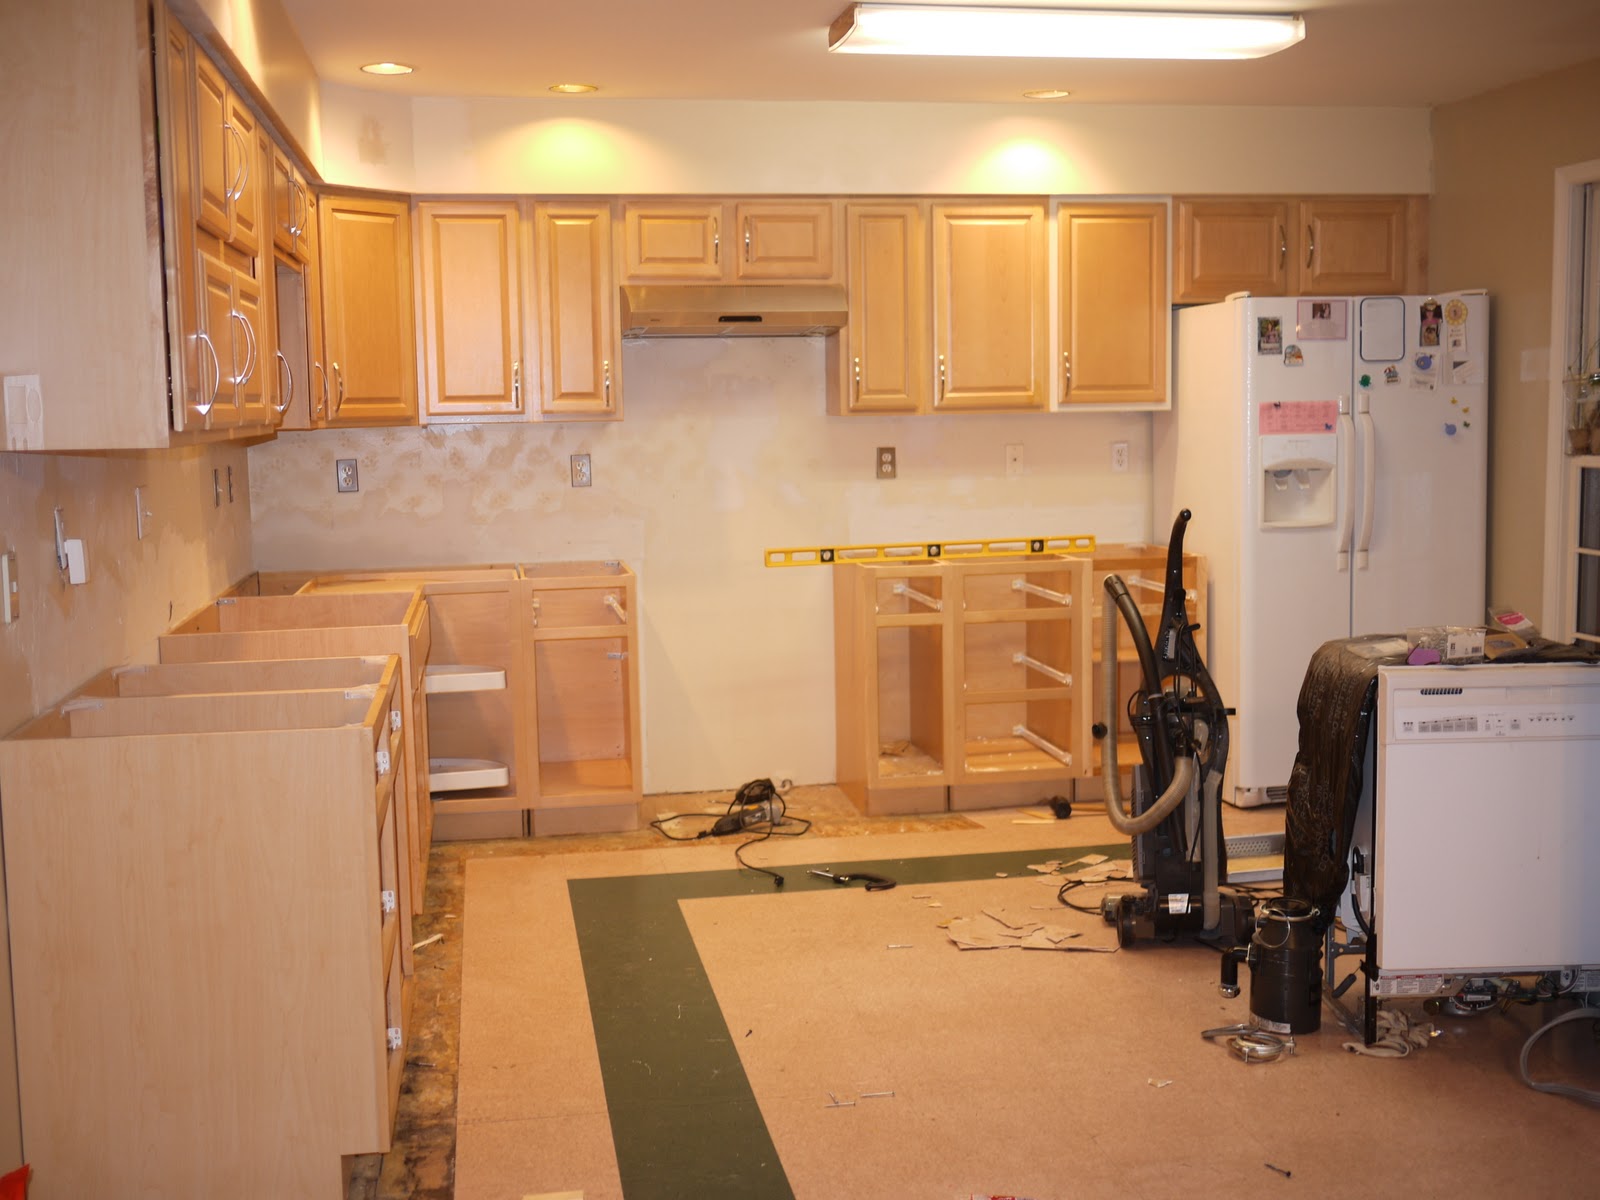
We started with this: (no the racing stripe floor was there when we moved in)
I know it is scary. Plus we were making rice crispy treats. Can you tell?
One more scary picture just for effect.
The first step in THE GREAT KITCHEN RENOVATION OF 2011-2012 was to work on leveling those cabinets and readying them for the counter.
Here is the 1st step completed with new sink, faucet and counters.
The 2nd step was to work on those blonde cabinets! We purchased Rustoleum's Cabinet Refinishing Kit but we didn't love the colors so I had it custom color matched at my favorite Lowe's. We chose Comet Dust the lighter of the color swatch.
 Valspar 5006-1A Comet Dust at MyPerfectColor
I love it! It isn't quite a gray but it isn't white either. It took 3 weeks to do our whole kitchen! We have a huge kitchen. I have 18 top cabinets alone! We purchased the large kitchen kit.
First you must take down all doors and use plastic gloves to degloss every surface. You can see here the the cabinet face is not shiny at all. That is a good thing!
Next is the actual base coat layer. I used a brush on the cabinet base to avoid getting paint everywhere. Notice the 2 liter of Coke. Must have my caffeine fix while working!
I used a sprayer on the doors as we were not using the stain after the paint. It is recommended to use a brush so the stain gets into the nooks and crannies. I wanted none of those so we sprayed. It did take FOREVA as we have to wait an hour after deglossing 1 side before you degloss the other and the only place I had to work was in the kitchen on our island.
My brother purchased a sprayer to use on his ceilings and realized it was too small to do the job. It was perfect for my cabinets! Thank you very much! The paint was used with 50% water added to the sprayer.
After spraying, I sanded the edges to give them some character. Then we waited 24 hours before sealing them with the poly coat from the kit. This also went in the sprayer with 10% water added.
After waiting at least 24 hours for the poly to dry I added the hardware back (we used the same cabinet pulls (the drawers are still blank... haven't decided what to use on those)
Then we rehung!
We painted the walls in the entire, kitchen, dining room and living room area the same gray since it is all one open space. We used the 2nd gray on the color sample. It is called Valspar's Notre Dame
 Valspar 5006-1B Notre Dame at MyPerfectColor
Our picture makes it look more dark gray than in real life. Our huge window's face the west so we get the sun setting not rising. Boo!
The stenciling still needs to be done on the backsplash as does the island. We are going to paint the island the darkest color from the same paint swatch. It is called Valspar's Granite Dust. It looks darker in real life compared to the swatch below.
 Valspar 5006-1C Granite Dust at MyPerfectColor
The floor is still racing stripe green and will be until next summer when we can afford to put down hardwood in the whole area.
We now have picture boxes in the entire area with white below the picture rail and the Notre Dame color above with white accents.
Next up, making curtains, finishing the back splash and then painting the island.