Pages

Tuesday, December 28, 2010

Christmas Decorations Take 2

 
This is a white shelf above our piano in our living room. I put the fake snow into the two glass containers and put silver, blue and white balls into the shorter one. I tucked greens around the pieces. The plates are purple in the back and blue in the front on a silver plate stand. The cute little reindeer came from Michael's 1/2 off at only $4.99! I bought 2! The tall container has long silver ornaments hung from it that have little crystals at the end. I finished it off with berries poked in and a small Christmas candle holder. There are a few snowflake ornaments hanging from the hooks. I had this dream for two shelves but didn't get it finished. The picture is printed out and the bottom support pieces purchased to make this happen on a different wall. Look for that post later this month as I create that masterpiece. LOL

My Very Own Cloche

My mother gave me a brass clock from when my parents were first married. It had stopped working but sat lonely on my bookcase. I bit the bullet and took it apart to create my own cloche.

All I had to do was take the three bolts in the bottom out and the clock part fell out. Since the whole thing is glass nothing else had to be done. Voila... a cloche.
Piece of cloche cake! Don't you with all DIY's were this easy?

UndertheTableandDreaming

The Christmas Mantle and Decorations... a little late

I know, I know... it's after Christmas but things were a little crazy here at Pembroke Lane before. School was in session until Dec. 23rd and we had my in-laws over to do our Christmas celebration on the 24th. So it's been nuts!

Here are my lovely Christmas decorations. This being the first year I've had a fire place it was quite fun decorating. I took down all the decorations this morning so they are all naked. *shh don't tell anyone*

I actually added two smaller triangular trees to the right in a gold/silver mix to even out the height a bit.  I am still missing a beautiful mirror for the top so it looks a bit plain. But... here are the details of my first attempt.
I had a dark bamboo mat that was a table runner but WAY too big for my table. I folded the edges over and under to fit my fireplace and built my entire centerpiece on top of it. The three snowflake came from a shop in Hershey Park when we went a few weeks ago. I have seen the same ones at either Target or Walgreens, can't seem to remember which.
The greens are a HUGE swag my mother gave me. The greens have a burgundy ribbon, burgundy grapes? and some brown/goldish leaves. I wound it around the tall silver tree I purchased last year at Pier 1.


Two of the snowflakes were completely silver while the middle one was gold and silver.


The two small reindeer were present from my mom last year so I'm not sure where she got them from. I just purchased a beautiful gold reindeer that is much larger at Kohl's after Christmas sale for $8 to add to it for next year. 


I also made a cloche that ended up having a gold pillar candle in it. In this shot it still has my votive with red beads in it.


This is my front entry table. I added three hanging pine cone stars to the mirror. I purchased those at the Christmas tree store 1/2 price the day after Christmas. The small pine cone tree was a gift from my mother last year. The angel is from Hallmark and was a Christmas present from my husband last year. The country tree was purchased at the Kris Kringle craft show at Hagerstown Community College in November. This table is the first thing you see upon entering my house. It is on the left immediately after my front door.

Monday, December 27, 2010

A Snowman Bento... a little late

Well I made these snowman bentos for Emma and Eryn's lunch back on the 19th. I just didn't get them posted yet. So... a little late.

These are the new Easy Lunchboxes from Easy Lunchboxes.com. (I have a banner on the right where you can order your own).  They come in packs of 4 for only $7.95 and I purchased one of the lunch bags so when we go somewhere I can carry more than one at a time. I am going to purchase a second bag soon because they are the perfect size for 2 easy lunchboxes and 2 water bottles each so I can just pack those two bags and have lunch/snack for all 4 of us!

The snowman sandwich is actually salami and colby jack cheese cut with a circle cutter. Then I just laid them together in the box and put two cut pieces of fruit leather around for his scarf. and nose. He has sugar eyes pasted on with peanut butter. The scarf is also secured with peanut butter. She has some organic potato chips in the side as well.


On the left she has cocoa and marshmallow gold fish (they are just adorable) and purple grapes. The banana sat on top of the bento box in her lunch bag. She also had Mott's Apple Juice in a reusable stainless steel cup.

So far I have found these boxes easy to use. The 4 pack comes with different colored lids so each one of us can have a different color. Mine is green, Chris' is blue, Emma's is orange, and Eryn's is red (although she thinks it is pink)

If you are interested in Easy Lunch Boxes just check out the link to the right of my blog.

Sunday, December 19, 2010

Living Room Boxes: Part 2 The Actual Boxes


Well, we purchased trim, I cut corners with a miter box (hated it) and then I wised up and realized my little brother had a miter saw (score!). The first few pictures are me cutting with the miter box (and a little help).  See why I get nothing done around here?

After cutting the pieces with his miter saw it went much faster.

To be honest, I started the boxes last Saturday (December 11th) and let just two boxes sit on my wall the entire week.

I just didn't like what I had done. Of course I didn't stop and realize when I figured out my measurements and cut them all that my heat vents were directly in the way (stupid heat).

So.... I had to rearrange and that is what was bugging me. Here is the picture of the first boxes.


See how I had a 33 inch box (my original measurements) but then a small box because I wanted the fireplace to look more "built in". I hated the boxes differences being so large.

So back to the drawing board. I popped the trim off and measured again and cut some of the trim again (used the same trim).  I redid those two boxes and liked them much better. I decided to repeat the 25 inch and then 22 inch boxes on the right for symmetry.  ( I am a teacher after all).

After I finished those two boxes on the left, I measured what was left and glory be I could do one more box the same 24 inches as the first one. Behold, a pattern!

The shorter wall required two smaller boxes at 22 inches but again at least they are the same size as smaller boxes on the other wall.

The chair rail we could not find in vinyl so it is MDF and at Home Depot you can cut your own! Can you believe it? I was able to slice a 16 foot piece into two 8 foot pieces so it would fit in my car!

We did NOT put chair rail completely behind the fire place since it will stay if we ever move. Who wants a huge yellow propane line sticking out of the wall when you purchase a house? Not me! Plus my box measurements all focused around it so it stays and it stays right where it is.

All we have left now in that section is to caulk, fill nail holes and repaint places I missed.
I mitered the corners at the end of the wall and at the window casing. I will paint those white as I touch up.

Then it is moving on to the rest of that large wall. I am then going to start on the other side of the entry way. Our house is laid out so open that you don't even realize those walls are part of the same room. For example, I haven't even painted that 1/2 of our living/ dining/ kitchen from the ugly yellow off-white the previous owner had it and not even my brother has noticed it.

I do plan on doing this gorgeous picture molding over there too.

Once I figured out how to keep the depth of the nail gun to where it needed to be it worked like a charm. I am ready to use it all over the house!

UndertheTableandDreaming


Photobucket

Saturday, December 11, 2010

Living Room Boxes Part 1: The Painted Wall

Well I just couldn't wait to start on our living room boxes so Sunday afternoon and evening I painted part of our living room (our house is a huge open area with living room, dining room and kitchen all together).  I stopped painted at the end of the living room window right next to the piano so I can finish next weekend and no one will notice (much).

See how under my windows there just isn't enough room for a box. The entire measurement is only around 8-9 inches. I hope it doesn't look strange with no boxes under the windows but the windows are just so HUGE!

Hubby and I measured 36 inches from the floor up the wall and marked with a pencil. Then I painted the bottom trim and bottom part of the wall white.

 The beginning of change. Already I can tell it will make a difference.

I know without the trim it looks funky but with just the white wall section against the fireplace and white painted entertainment center we're starting to go places. The trim pieces will get cut today and hopefully nailed in tomorrow with my new toy
Ahhhh.... tool love!

I'll post the rest of our living room transformation as we finish up!

Tuesday, December 7, 2010

$20 CSN Gift Card Winner!


True Random Number Generator 27 
  15 Powered by RANDOM.ORG
 
Out of the 27 comments left for the giveaway #15 is the lucky winner!
 
Congratulations 
Debbie said...
I'm a new follower! fourkidsrgreat(at)gmail.com Be on the lookout for an email containing your $20 gift certificate code!

Saturday, December 4, 2010

Vinyl Trim LOVE and a little lovin' for Home Depot


I searched everywhere for the infamous "picture molding" that is all over the blogisphere! My usual favorite Lowes had everything but! If they had vinyl molding they hide it VERY well. My only option there was primed pine molding at $1.05 a foot.

Tonight at Home Depot (my new favorite!)  I found a whole aisle of vinyl molding! They had a 12 foot piece of vinyl casing for only $8.79! For anyone who is looking for it is item # 070673836879 and is called Basecap 12'.  That works out to only $.73 a foot! Whoo hoo!

We purchased just one piece to "test" it out at our house. We will be buying more once I thoroughly measure and figure out just how much we need for our "boxes".

I have pulled the paint out and the paint brush but we also have Eclipse tonight from the Redbox so I am thinking the paintbrush and lovely paint can will sit idle until tomorrow after church when Eryn takes her nap and Emma can sit and read. They have previously been known as Squishy #1 and Squishy #2 but my brother said that sounded stupid and since we all know little brothers are always right (ha ha ha) I have decided maybe to change it. So Emma is our 6 year old and Eryn is our 3 year old. I'll fill you in on more details later.

Pictures of the actual molding to follow with posts about our living room wall redo!

Thursday, December 2, 2010

$20 CSN Gift Card Giveaway Ends Soon!


Click HERE to enter our $20 CSN Gift Card Giveaway! It ends Monday night at 11:59 p.m.!

Handmade Holiday Crayon Presents!

Sew Totally Smitten has made some ADORABLE holiday crayon presents. As a teacher, I have a TON of crayons so we will be totally trying this one out this weekend!

Click HERE to check out her directions and cute photos. I'll post back with how ours turn out after we give it a try!

Wednesday, December 1, 2010

What a 3 Year Old Thinks Is Fun

After taking her bath last night Squishy #2 ran off. I had dried her hair and put her underwear on but off she ran. I looked everywhere and was just getting into panic mode when I heard giggling. Off pops the lid and out pops Squishy!


We purchased two of these great boxes at Target earlier in the year. The purple ones were on clearance plus they had a $5 off coupon so we only paid $5 each for two boxes. Each Squishy has one in her room. Squishy #1 has her Leapfrog Didj stuff in her box but apparently Squishy #2's box is empty (kind of).

Tuesday, November 30, 2010

Squishy #1's New Captains Bed and a little Craigslist Love

Well poor Squishy #1 had a loft bed with a built in dresser, bookcase and desk and she hated it! Actually she just hated being so far up in the air with a huge (to her unusable space beneath). So, we broke down and found her a great Captains bed on Craigslist. She can still have 3 drawers for her underclothing, socks, and pajamas but she can sit on the floor instead of the ceiling. 

Here is her "new" Captains Bed. Notice mommy got stuck underneath Squishy #1 and Squishy #2 who thought it was fun to lay on top of mommy. 


Squishy #1 hasn't decided whether she'd like the bed painted white to match the bookcases and small desk we just moved in or not. She said she'd decide after we did the faux board and batten. 

As long as she lets mommy live long enough to do the work. It's rough with two little Squishies!

Monday, November 29, 2010

NOW CLOSED: GIVEAWAY: $20 CSN Gift Card


CSN Stores has over 200 online stores where you can find anything you need whether it be a chic handbag, tv tables or even cute cookware! 

They have been great to us at Our Frugal Future and have sponsored two giveaways with us and now they have sponsored our FIRST GIVEAWAY at Pembroke Lane! 

Now down to the nitty gritty. Here is how to enter:
MANDATORY ENTRY:
Tell me how you would spend your $50 at CSN Stores

EXTRA ENTRIES:
* Become a follower of my blog or comment if you already are  (1 entry)
* Become a fan of CSN on Facebook  (1 entry)
* Follow CSN on Twitter (1 entry)
* Blog about this giveaway and leave me a comment with a link (3 entries)
*Become a fan of Pembroke Lane on Facebook (1 entry) 
*Giveaway ends on Monday, December 6, 2010 at 11:59 p.m.* 
You can check out all the great Black Friday sales still going on at some of CSN's great sites.

Please remember promotional codes are not valid with the Black Friday deals.
http://www.everygameroom.com/holidaydeals

The Painted Craigslist Corner Entertainment Center

Don't forget about our $20 CSN Gift Card Giveaway! Click HERE to enter!

Alright, I've already told you I love Craigslist well it just gets better. Here is our corner entertainment center I needed to purchase after buying a fire place and removing my old entertainment center.


Here it is being sanded slightly on top and front so my spray primer adheres well.


Here is is mid-spray primer with heater behind it. It is very cold outside mid to high 30's and you really aren't supposed to spray paint unless it is 50 degrees and unless I spray paint in the middle of my kitchen, I need the heater.  I primed mostly one night then primed any areas I thought needed more in the morning.

Honestly, temperature withstanding I was not all that impressed by the primer I used. I used Valspar Indoor/Outdoor spray primer in white.  If anyone knows anything about Valspar they were originally American Traditions from Lowe's.  As far as I know they are only sold at Lowe's.

The primer went on but also had some spray and drips to it. I thought it was me so I stopped, shook the can, adjusted my angle and went on. It still did it. The whole way through the priming process. By the way, it took 1 1/2 cans of Valspar to cover this piece with primer.

Say ADIOS to the golden oak color! My mother would have shot me if she'd seen this piece before it was primed. She LOVES golden oak. Lucky for her I didn't show it to her until the coat of primer was on it.


Then later that morning I gave everything a good coat of Rust-oleum Satin Spray paint. Let me tell you this was like "butta".  Besides the fact that my finger hurt tremendously because I don't have a trigger thing (until today after church when I plan on hitting Home Depot and getting one), it worked like a charm! The paint was thick and didn't drip or spray at all! It did confirm a sneaking suspicion I've had that it wasn't me it was the primer. Whewwww! I had been a little worried.


Especially when Squishy #1 looks at me and says "Mommy, why are you covered in spray paint? I thought it sprayed on and you bought it because it doesn't make a mess." Sheer Genius that one!

Pardon the icky garage, my father's music store closed and they have moved some stuff in and so ours is just kind of here, there and everywhere. Not to blame him, our garage was a mess before just not this bad. I'm sure I'll post all about the Garage Clean-Up Day later in December when we tackle that huge job!

I brought the stand in about 4 hours after I sprayed it and it was still tacky. I thought it was just a bit too cold in the garage for it to set properly. It sat in my kitchen for another 3 hours and when I checked it around 8:30 p.m. Saturday night it was completely dry.

I moved it outside yesterday and sprayed a few spots I missed seeing before. I also sprayed the other side of the doors and touched up the bottom trim too.

I then moved it back in the house last night before bed. This morning I put the DVD cases, Wii and XBox stuff inside the bottom, put the knobs on the doors and put the doors back up. The hardware wasn't real shiny so I decided not to spray paint those with metallic spray paint. In the future I may change my mind but for now, they stay.

The finished product turned out quite well and I am very pleased with my first spray paint effort.

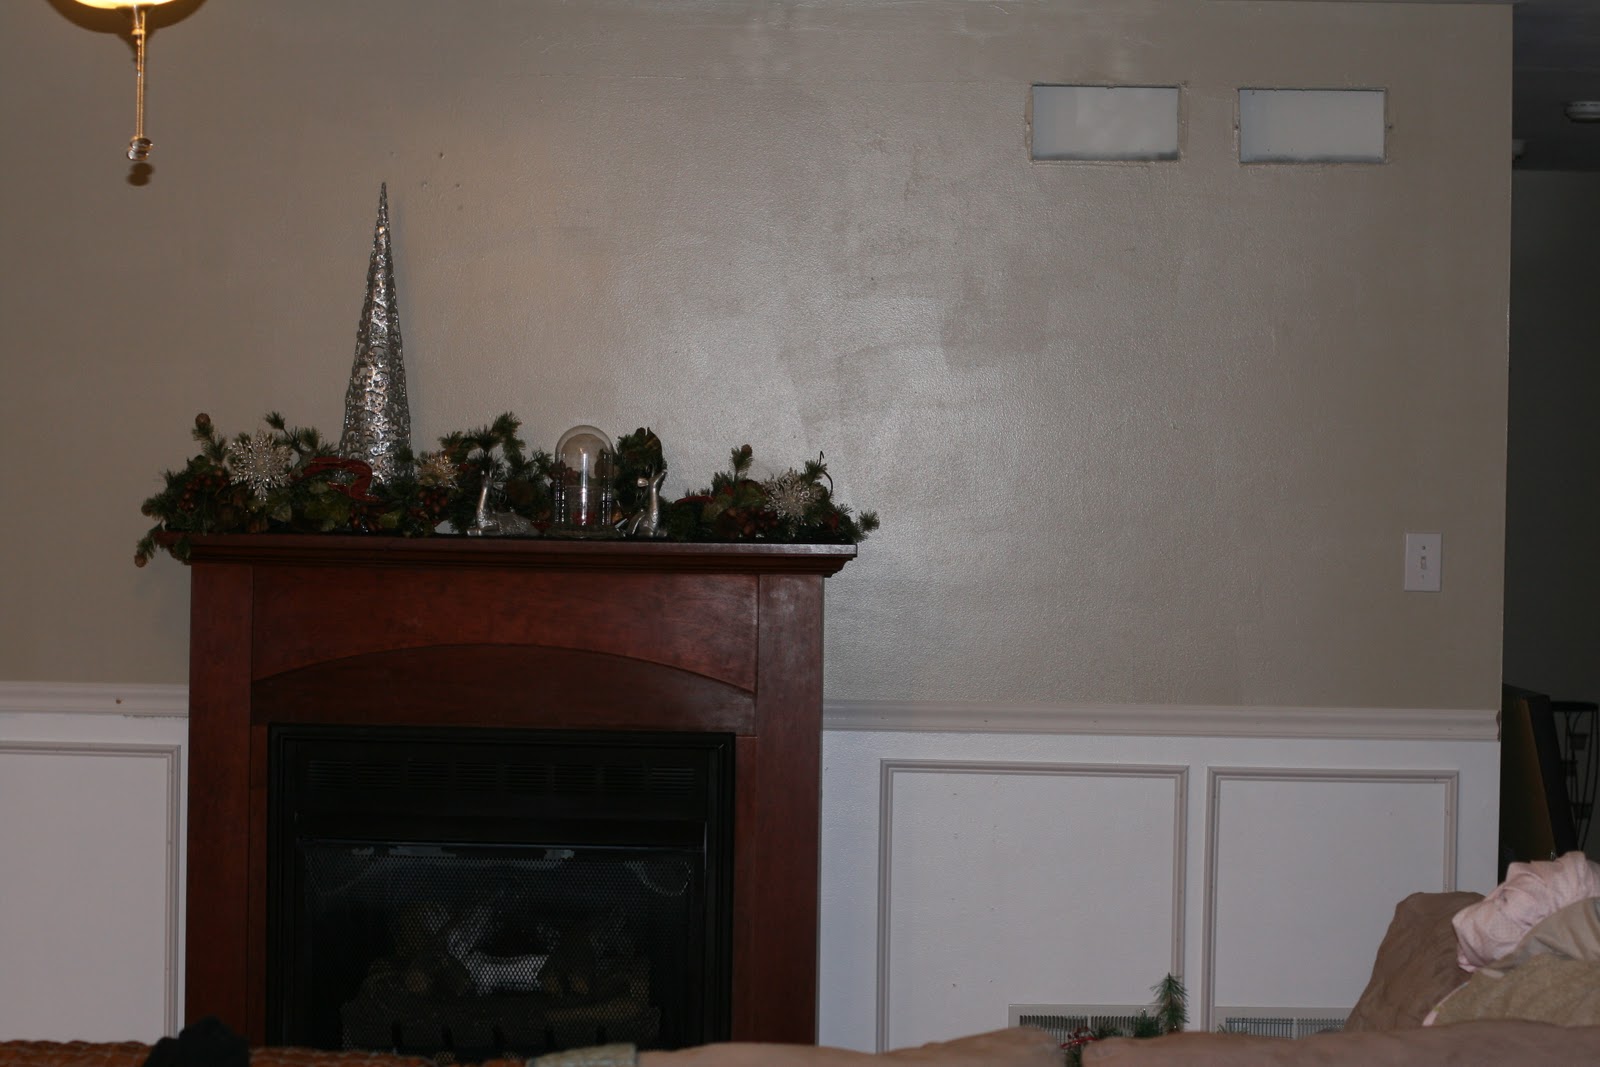
We have moved all the A/V equipment into the cabinet in the corner and even though my wall treatment isn't complete, I love it! It now frees up my fireplace for me to decorate for Christmas!

Stay tuned for that conclusion of the new fireplace.


HOG


Birthday Wedding cakes crafts parties


handmade projects

Join  us Saturdays at tatertotsandjello.com for the  weekend      wrap    up           party!

LinkWithin

Related Posts Plugin for WordPress, Blogger...