We purchased raised garden bed kits from Home Depot about 3-4 years ago. They were 4 feet by 4 feet and quite expensive at $30 a piece. We spent about $150-200 purchasing all of our dirt supplies (compost, vermiculite, and peat). Mix those three together and you get a really healthy soil where most plants will flourish.
Fast forward three years where we have not added compost and we want a more cohesive look to the backyard and taller beds to keep out the dogs who have no idea and trample over the garden beds.
We also have a weed filled mess since the garden beds were not too far from a tree and weed paper isn't the greatest barrier apparently. Our oldest graciously offered to assist in the weeding since we wanted to reuse the old soil mixture and add more when completed.
After the first bed was weeded, we unscrewed the lattice on top of the bed and got to work building our new bed which we would pick up and place in the spot of the first garden bed we had just weeded.
For tools we used:
Deck Screws (because it was an outdoor use and we already had them)
My new
BABY drill, our Rockwell! I have the Sonicrafter and LOVE it! So far we are also in love with the drill as well.
We also purchased 6 pieces of 8 ft by 12 inch lumber (not treated) from Lowes. We used a coupon and a birthday gift card so we paid about $40 for all of them once it was over.
Two studs were also cut apart into 8 22 inch pieces to use as supports. These we already had that I had purchased for a closet project and had changed my mind on the design and still had them sitting in the garage.
We cut the two of the 8 ft pieces into 4 ft so we could stack them on top of one another.
We had to flip the board and cut from the other side as our saw isn't wide enough and I do not have enough control over our skill saw to use that for this type of work.
We began by cutting some studs into 22 inch pieces (the boards were not really 12 inches. More like 11 1/4 if we were lucky so 22 inch pieces went from top to bottom of two boards together.
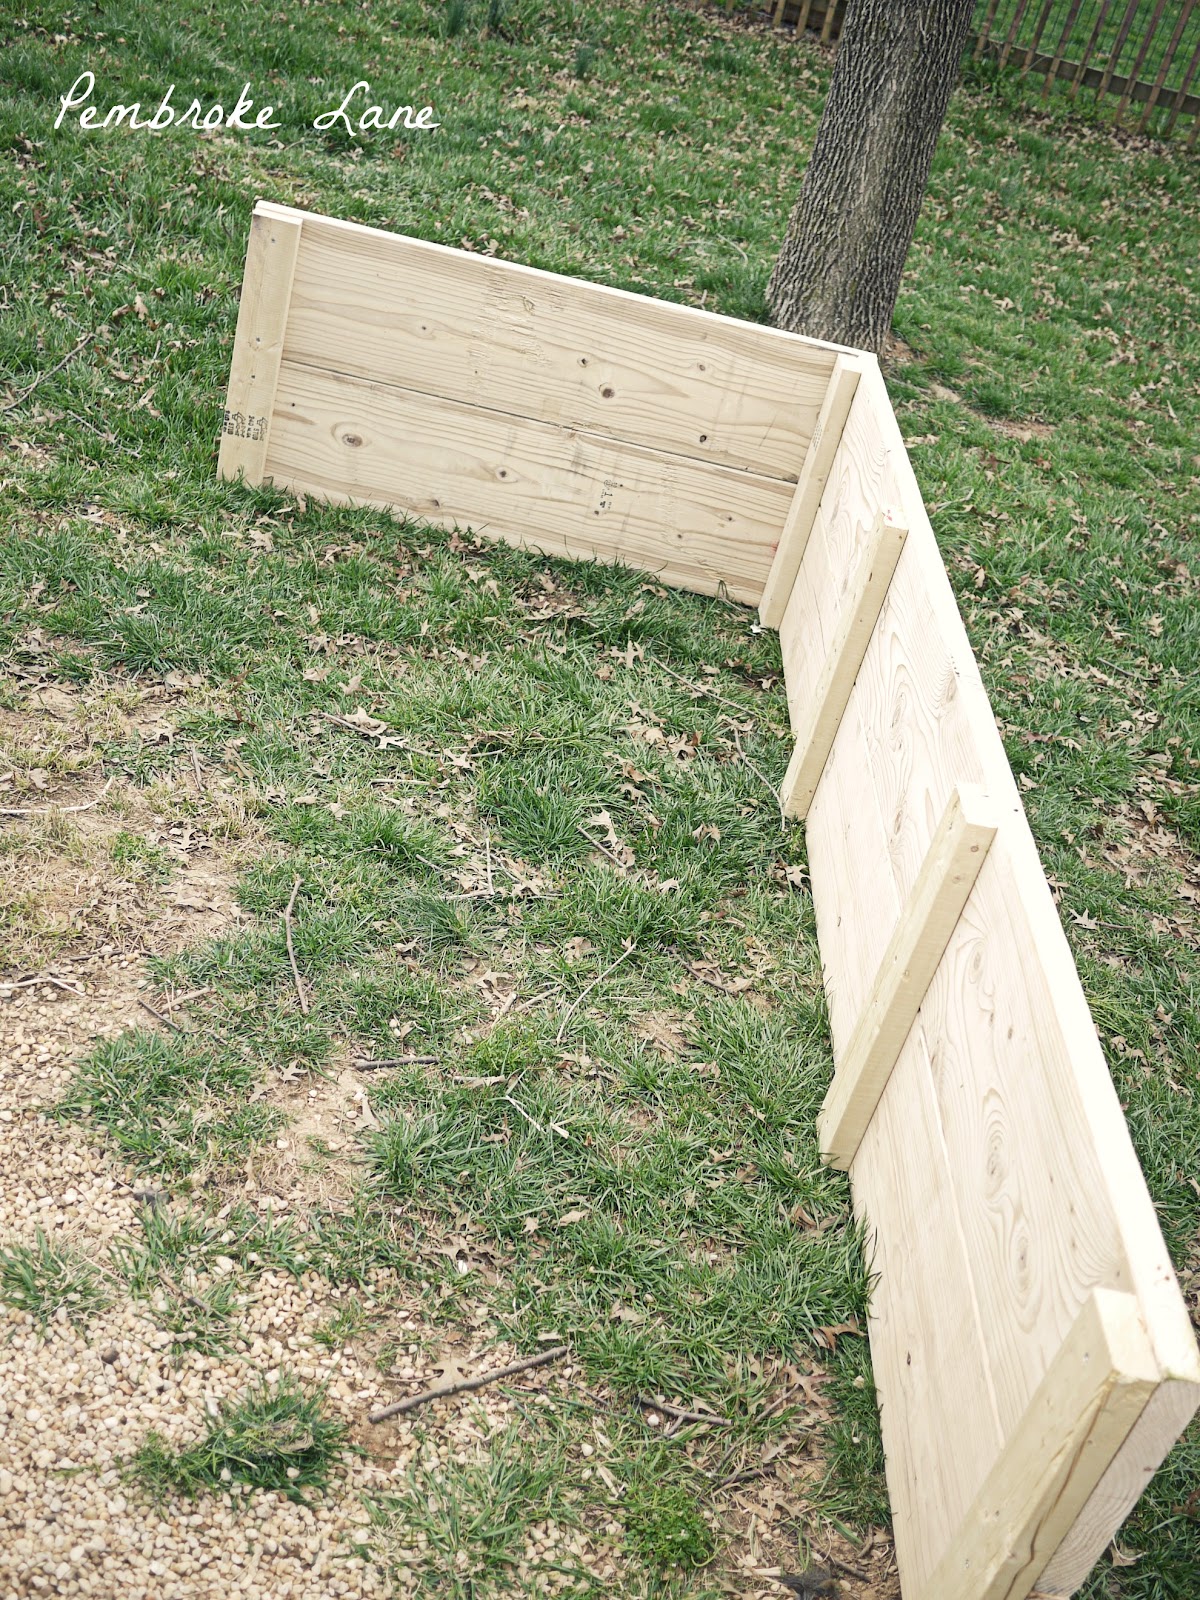
We screwed four deck screws into each stud (2 screws into each pieces of wood) through the stud. We also screwed two studs spaced evenly in between the ends so we could make sure it was sturdy. Once we had two sides screwed together in this manner, we too the 4 foot cut pieces and screwed them into the ends of the long boards.
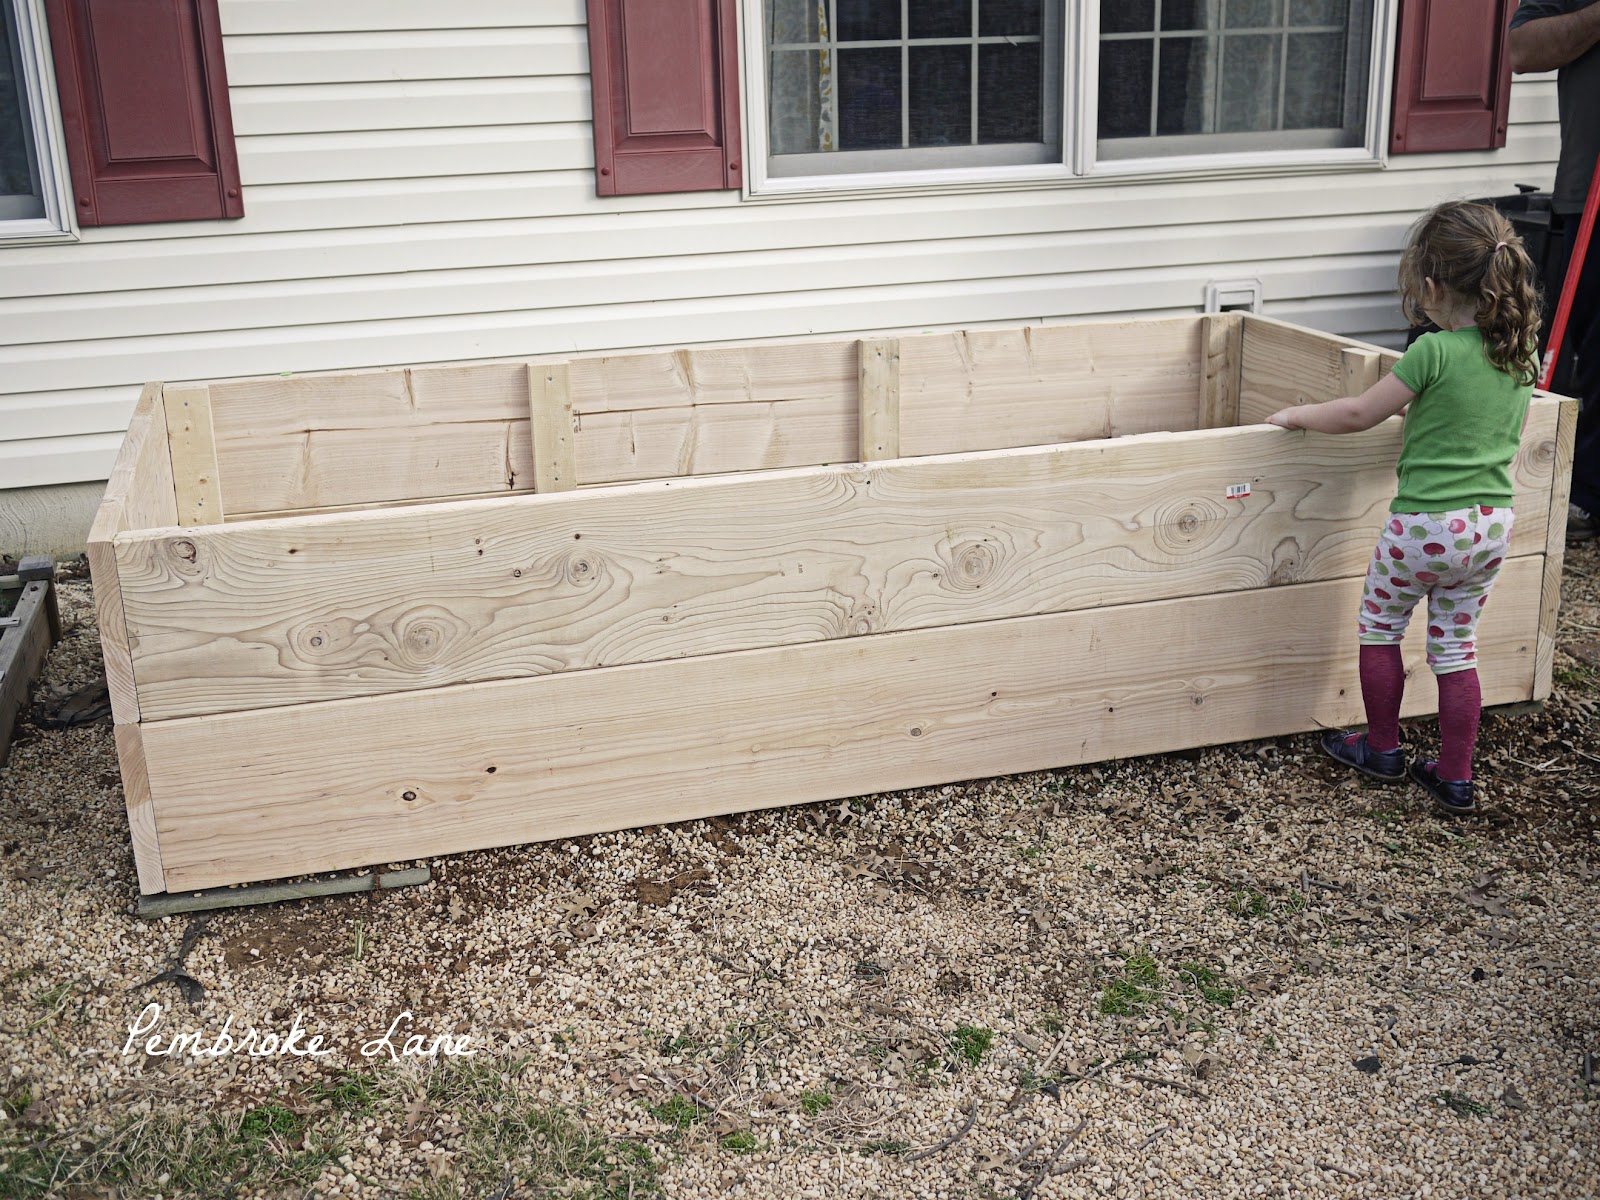
Here is the 3 pieces together. We finished it up and moved out our old garden bed and placed the dirt in our wheel barrow. This allowed us to get the garden bed in place without trying to work around the soil we wanted to keep.
We had three garden beds that were 4 x 4 and had left 4 feet of space in between each one so our total original space was 24 feet and some change (near the propane tank we didn't count). So when we removed garden bed #1 we ended up with a 12 foot empty space in which to work. Our 8 foot bed fit in nicely.
Pardon my daughter's fashion choices. Once we are home for the evening she gets to pick whatever she wants to wear. Today's outfit was an apple pajama pant, a sunshine pajama top, magenta tights and church shoes. They are old church shoes so I didn't mind.
We leveled the garden bed with some slate outdoor tiles we had to ensure that when watered the garden it would not all drain to one side. We also laid the old black weed paper in the bottom as we put the dirt back in.
Here is the bed once all three garden bed's were deconstructed and the dirt added to the new garden bed. And yes, the child added a red tutu by this point to complete her look.
You can see here how the garden bed is situated in comparison to where the old beds were. It sits on top of the first bed. See how much room we opened up by condensing into one large 8 by 4 foot bed instead of 3 4x4 beds? The last bed by the propane tank never did well anyway because it was overshadowed by the propane tank and cover. So we really only utilized 2 of the 4x4 beds anyway.
Here is what the garden bed looked like inside before we added the dirt. We raked up some of the pea gravel to help the bed drain and then dumped the soil into the bed.
This is what the old soil from the last 3 years combined looked like before we added any of the new mixture.
Next up, painting the garden bed and refilling with new mixed soil!